


How To Make Easy Planner Storage Envelopes
Hey, the crew it's Mark from Mark Your Pages and today we're going to be creating envelopes using collage paper or leftover wrapping paper. I have never been a collage journal keeper, so whenever I have received this papers in Archer & Olive specialty boxes, I’ve just held on to them for a future project, and this one is perfect! I can’t wait to show you how to make these envelopes, because once you start, you won’t want to stop making them.
You can find more of my content on Instagram and YouTube at Mark your pages.
The materials that you're going to need for today:
- a piece of rectangular collage paper or wrapping paper
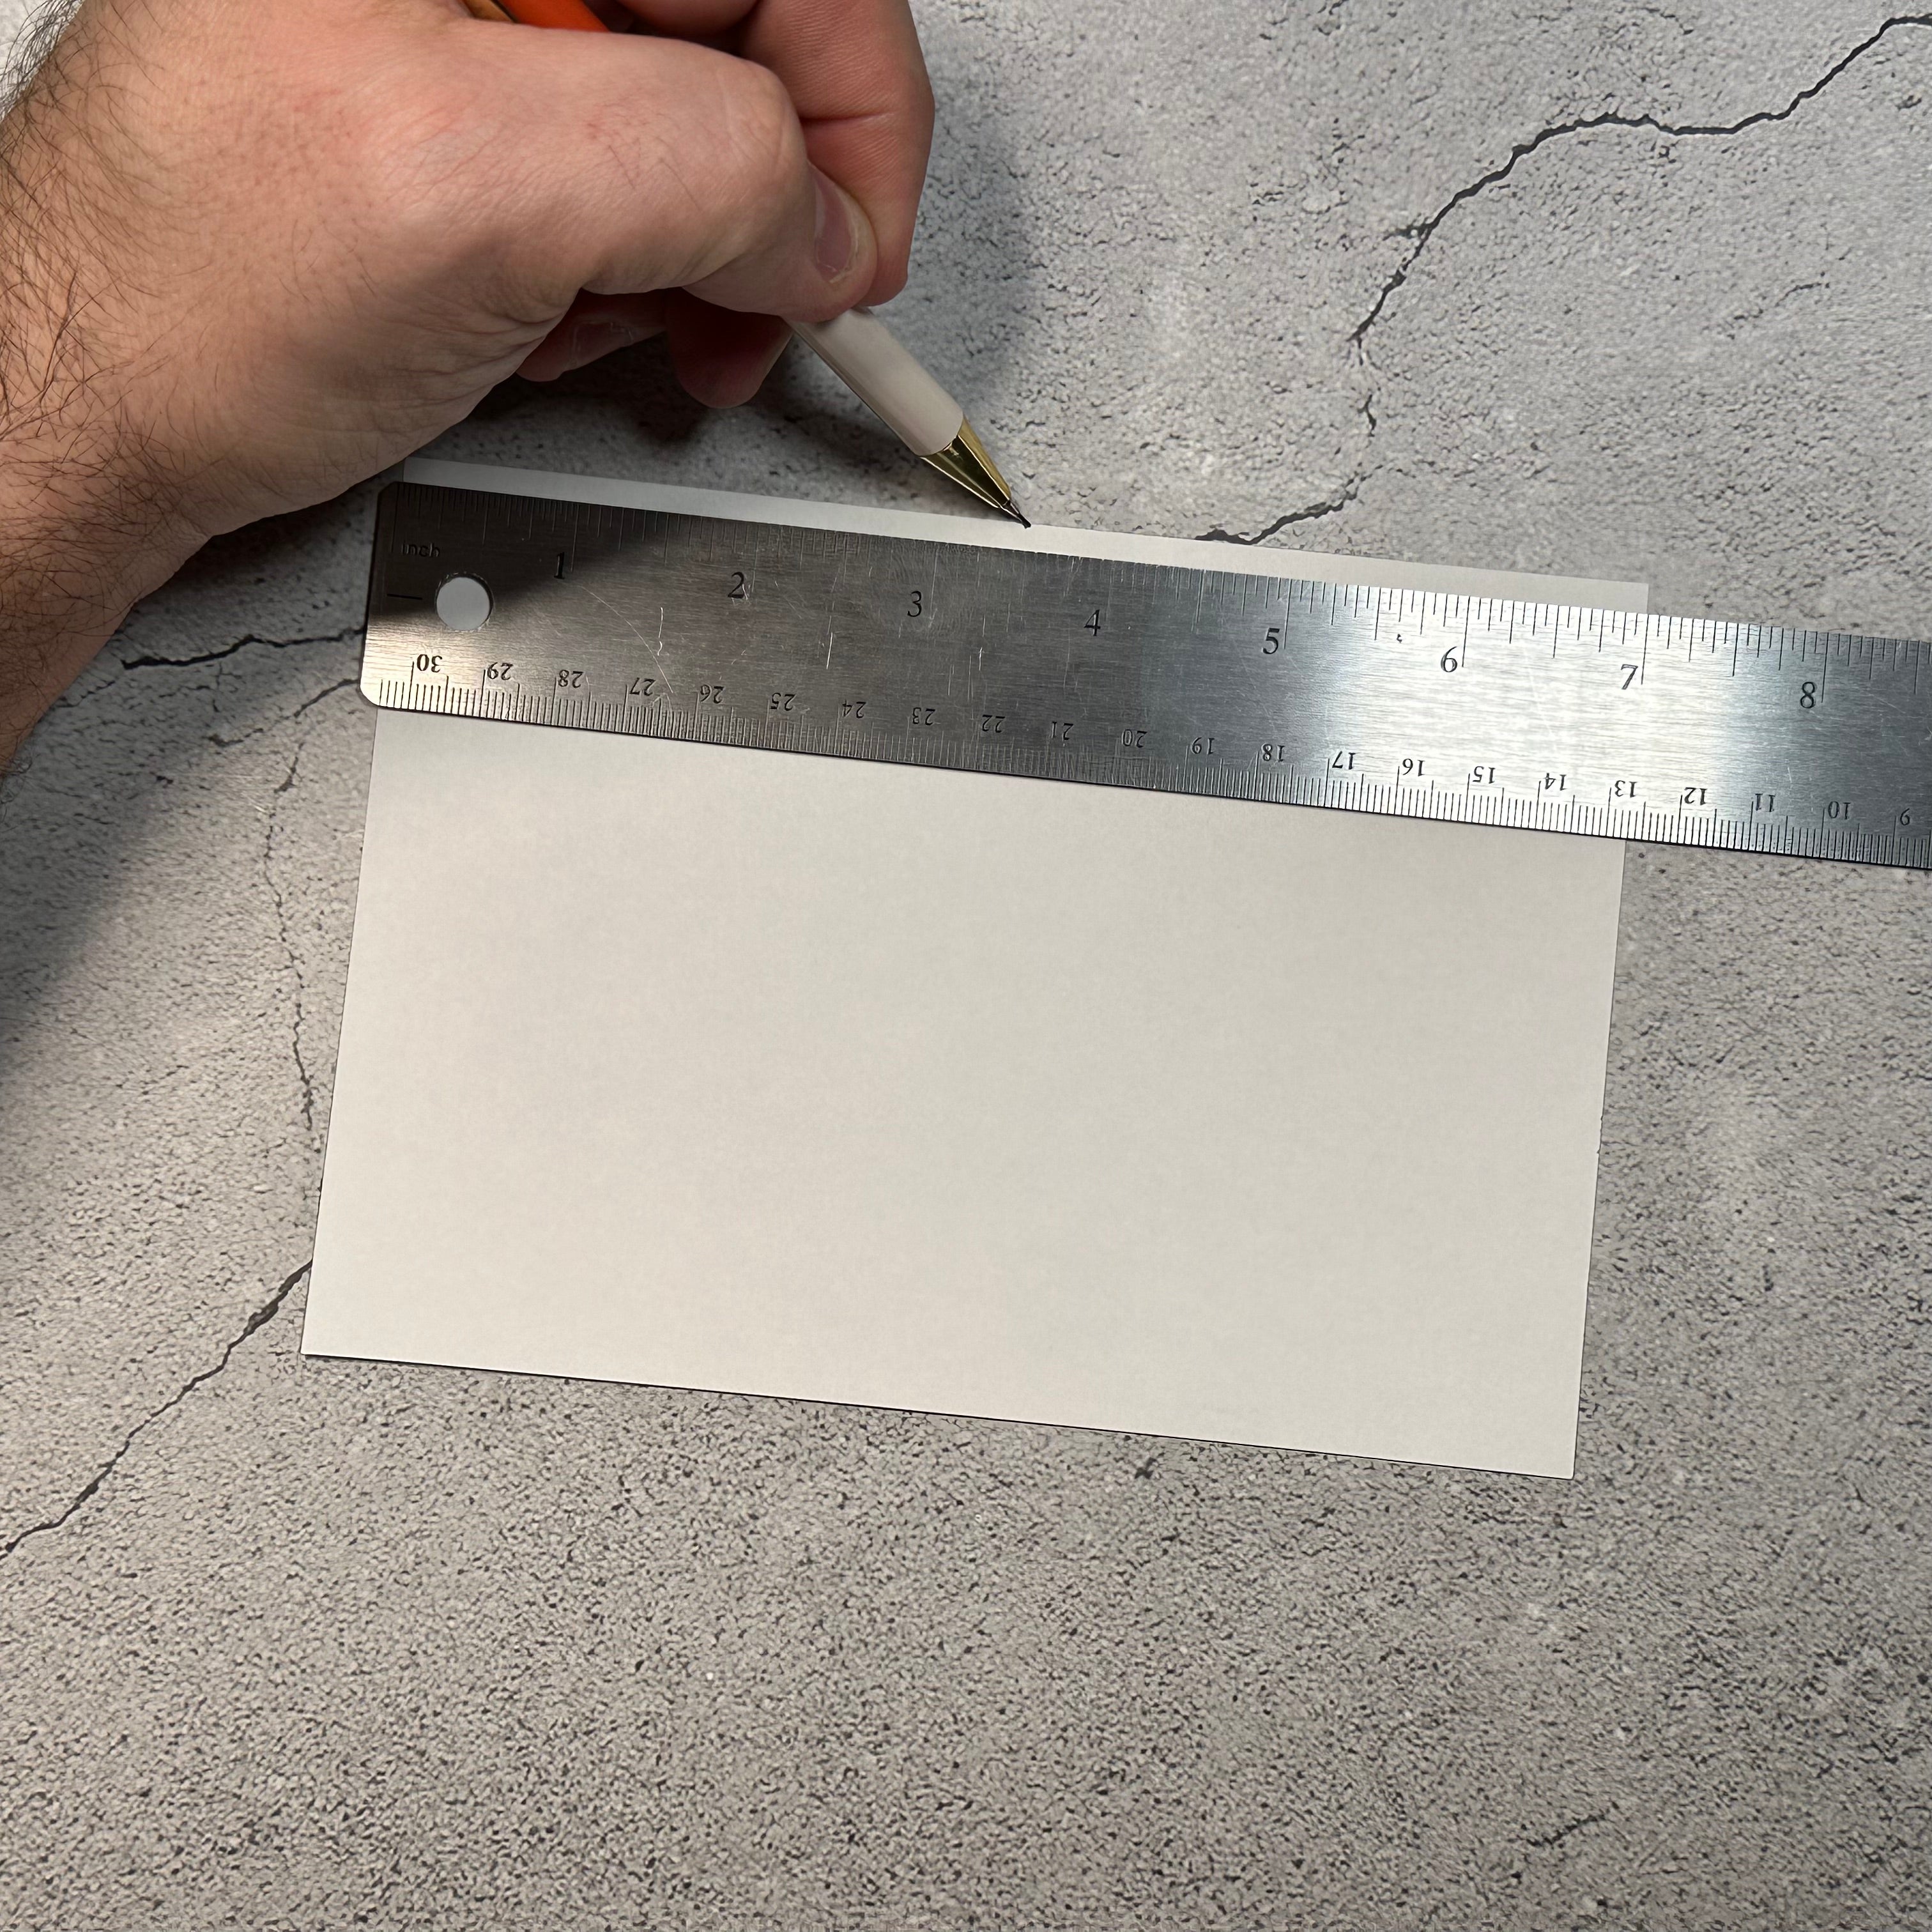
- A ruler
- A pair of scissors
- double-sided tape
- and a pencil.
There are so many types of paper you can use for this project. Please experiment with sizes too!
The first thing they were going to do is use a ruler and a pencil and we're going to find the center of our horizontal piece of collage paper. We are going to mark it at the top.
Next, we're going to take the right side of our collage paper and we're going to fold the end to touch the center where we've just marked with our pencil.
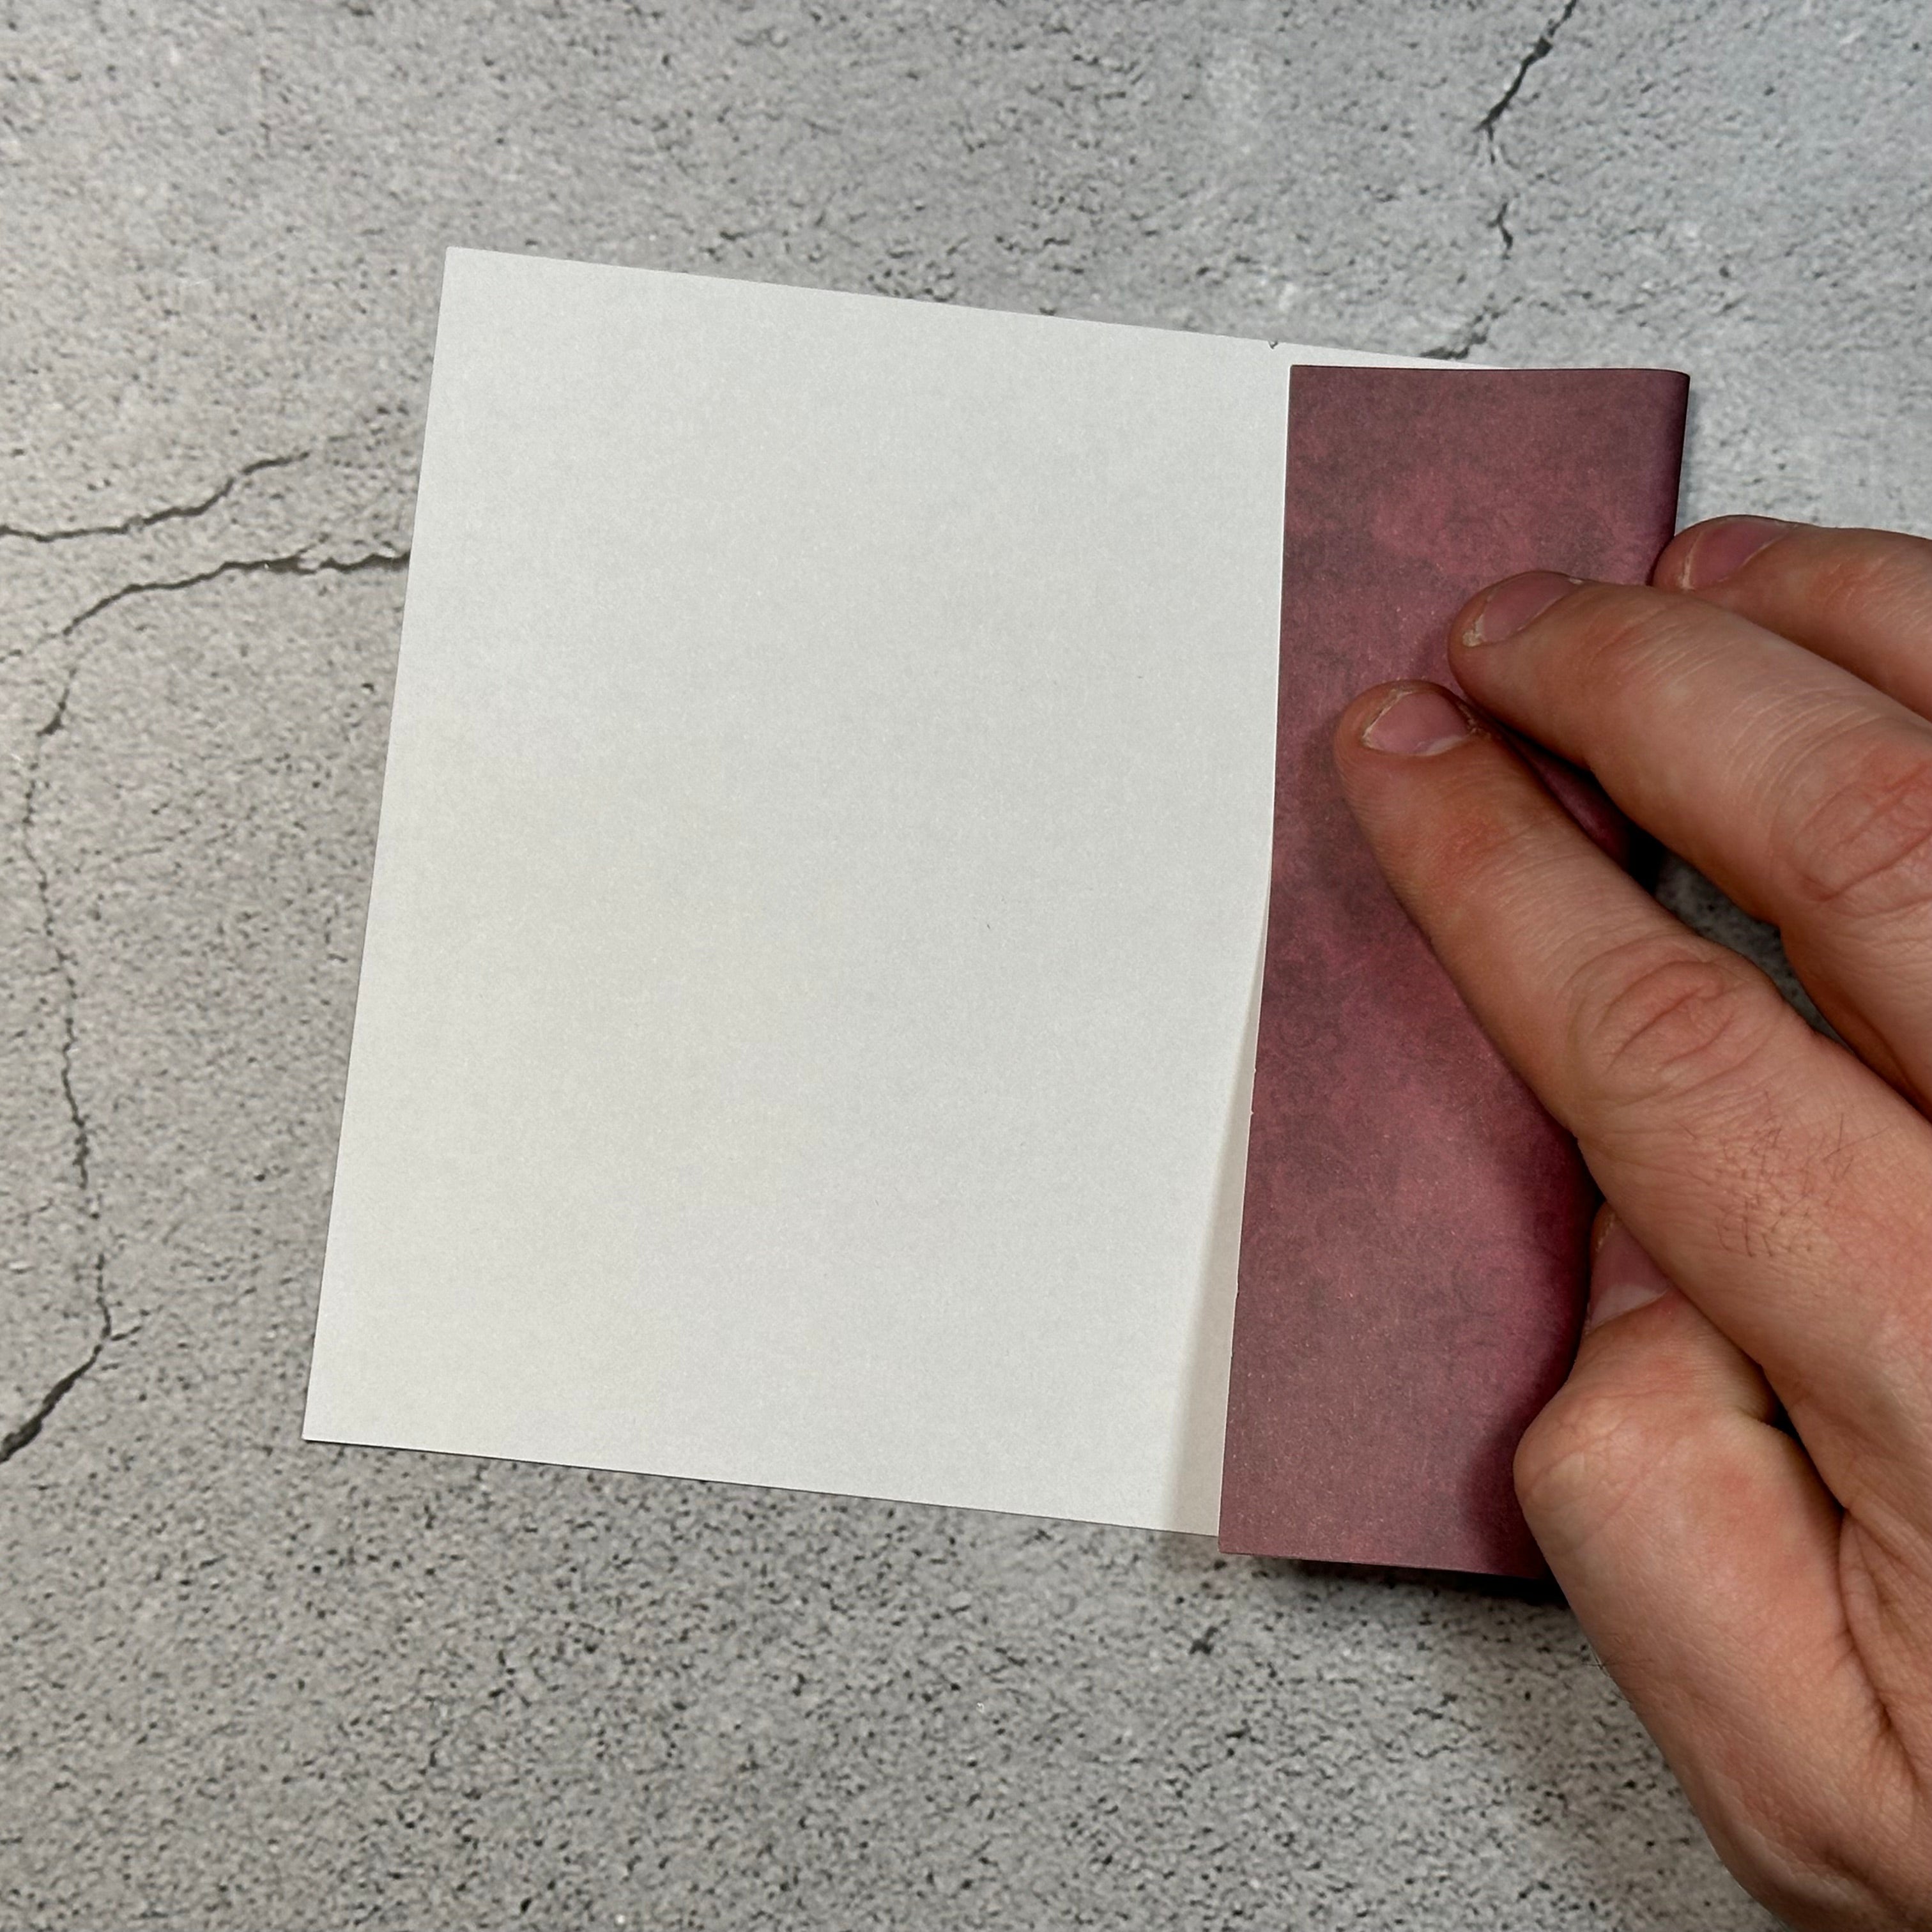
Next we're going to take the left-hand side we're going to meet in the middle but then we're going to give it about a quarter to half an inch of space overlapping.

We're going to unfold the paper and rotate it clockwise so that our rectangle is long ways top to bottom. Using a ruler, we're going to measure over a quarter of an inch of the top and a quarter of an inch at the bottom we're going to draw straight line from each of those marks down the left-hand side of the paper.

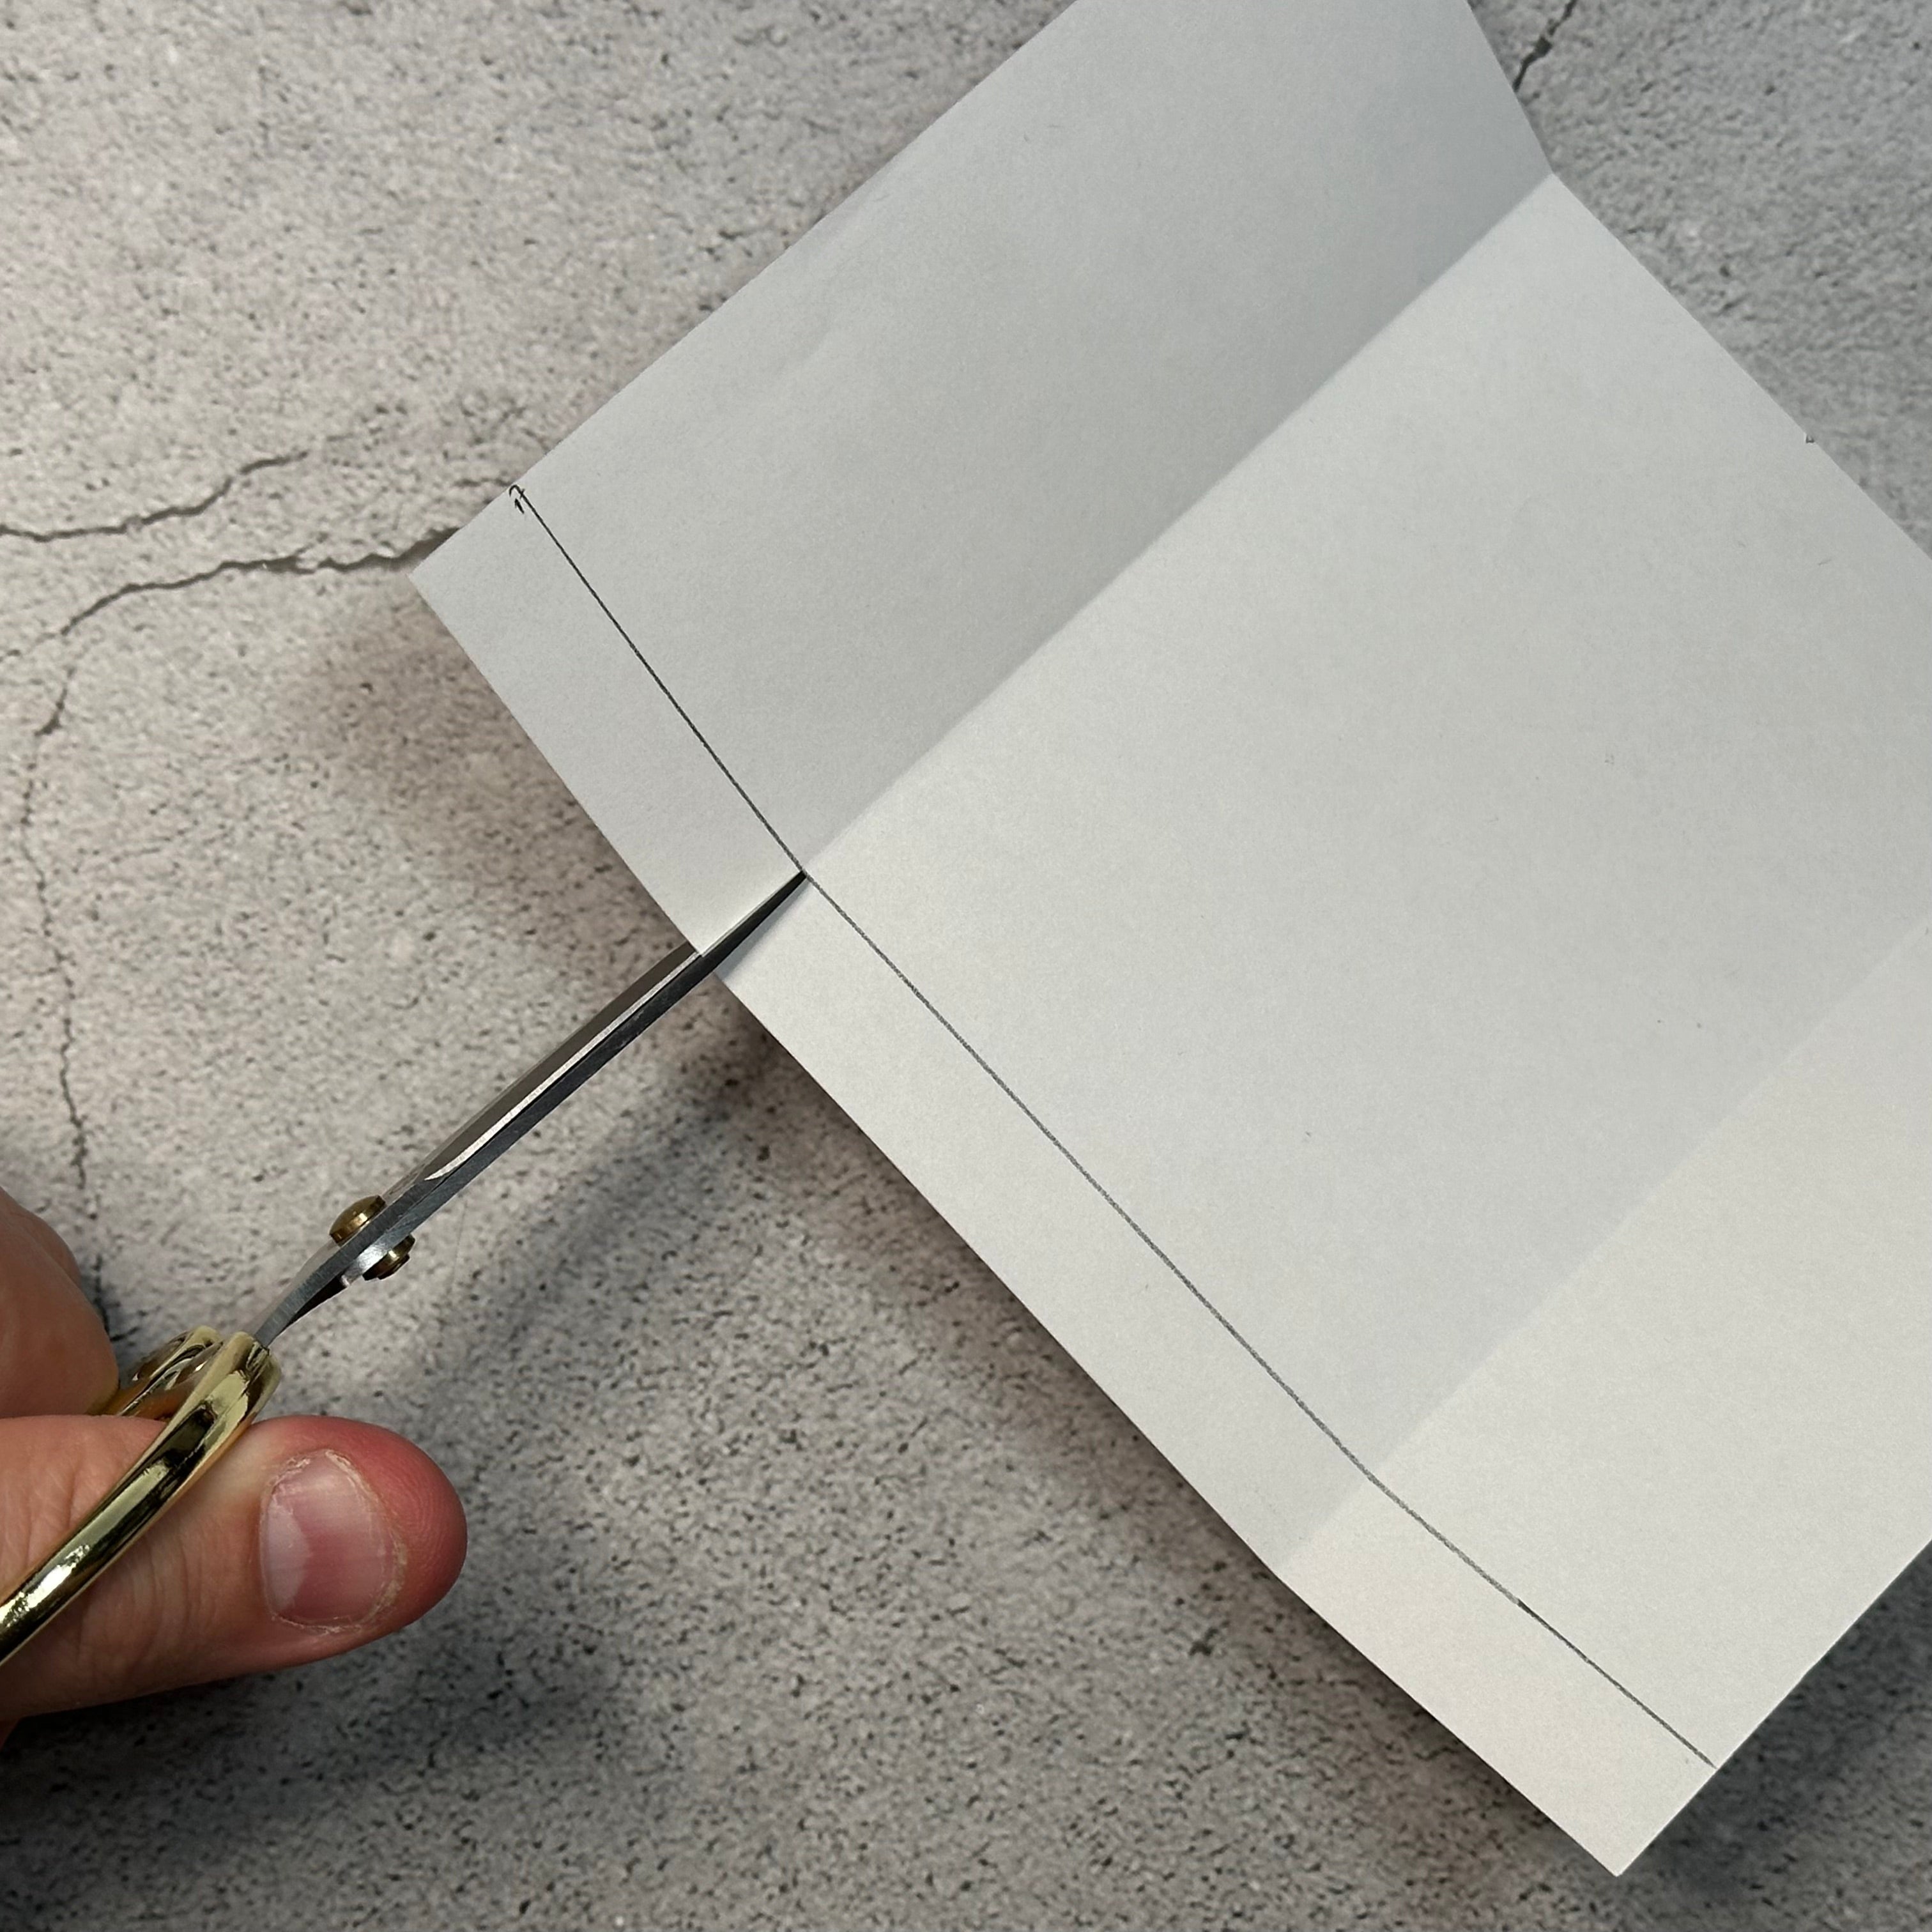
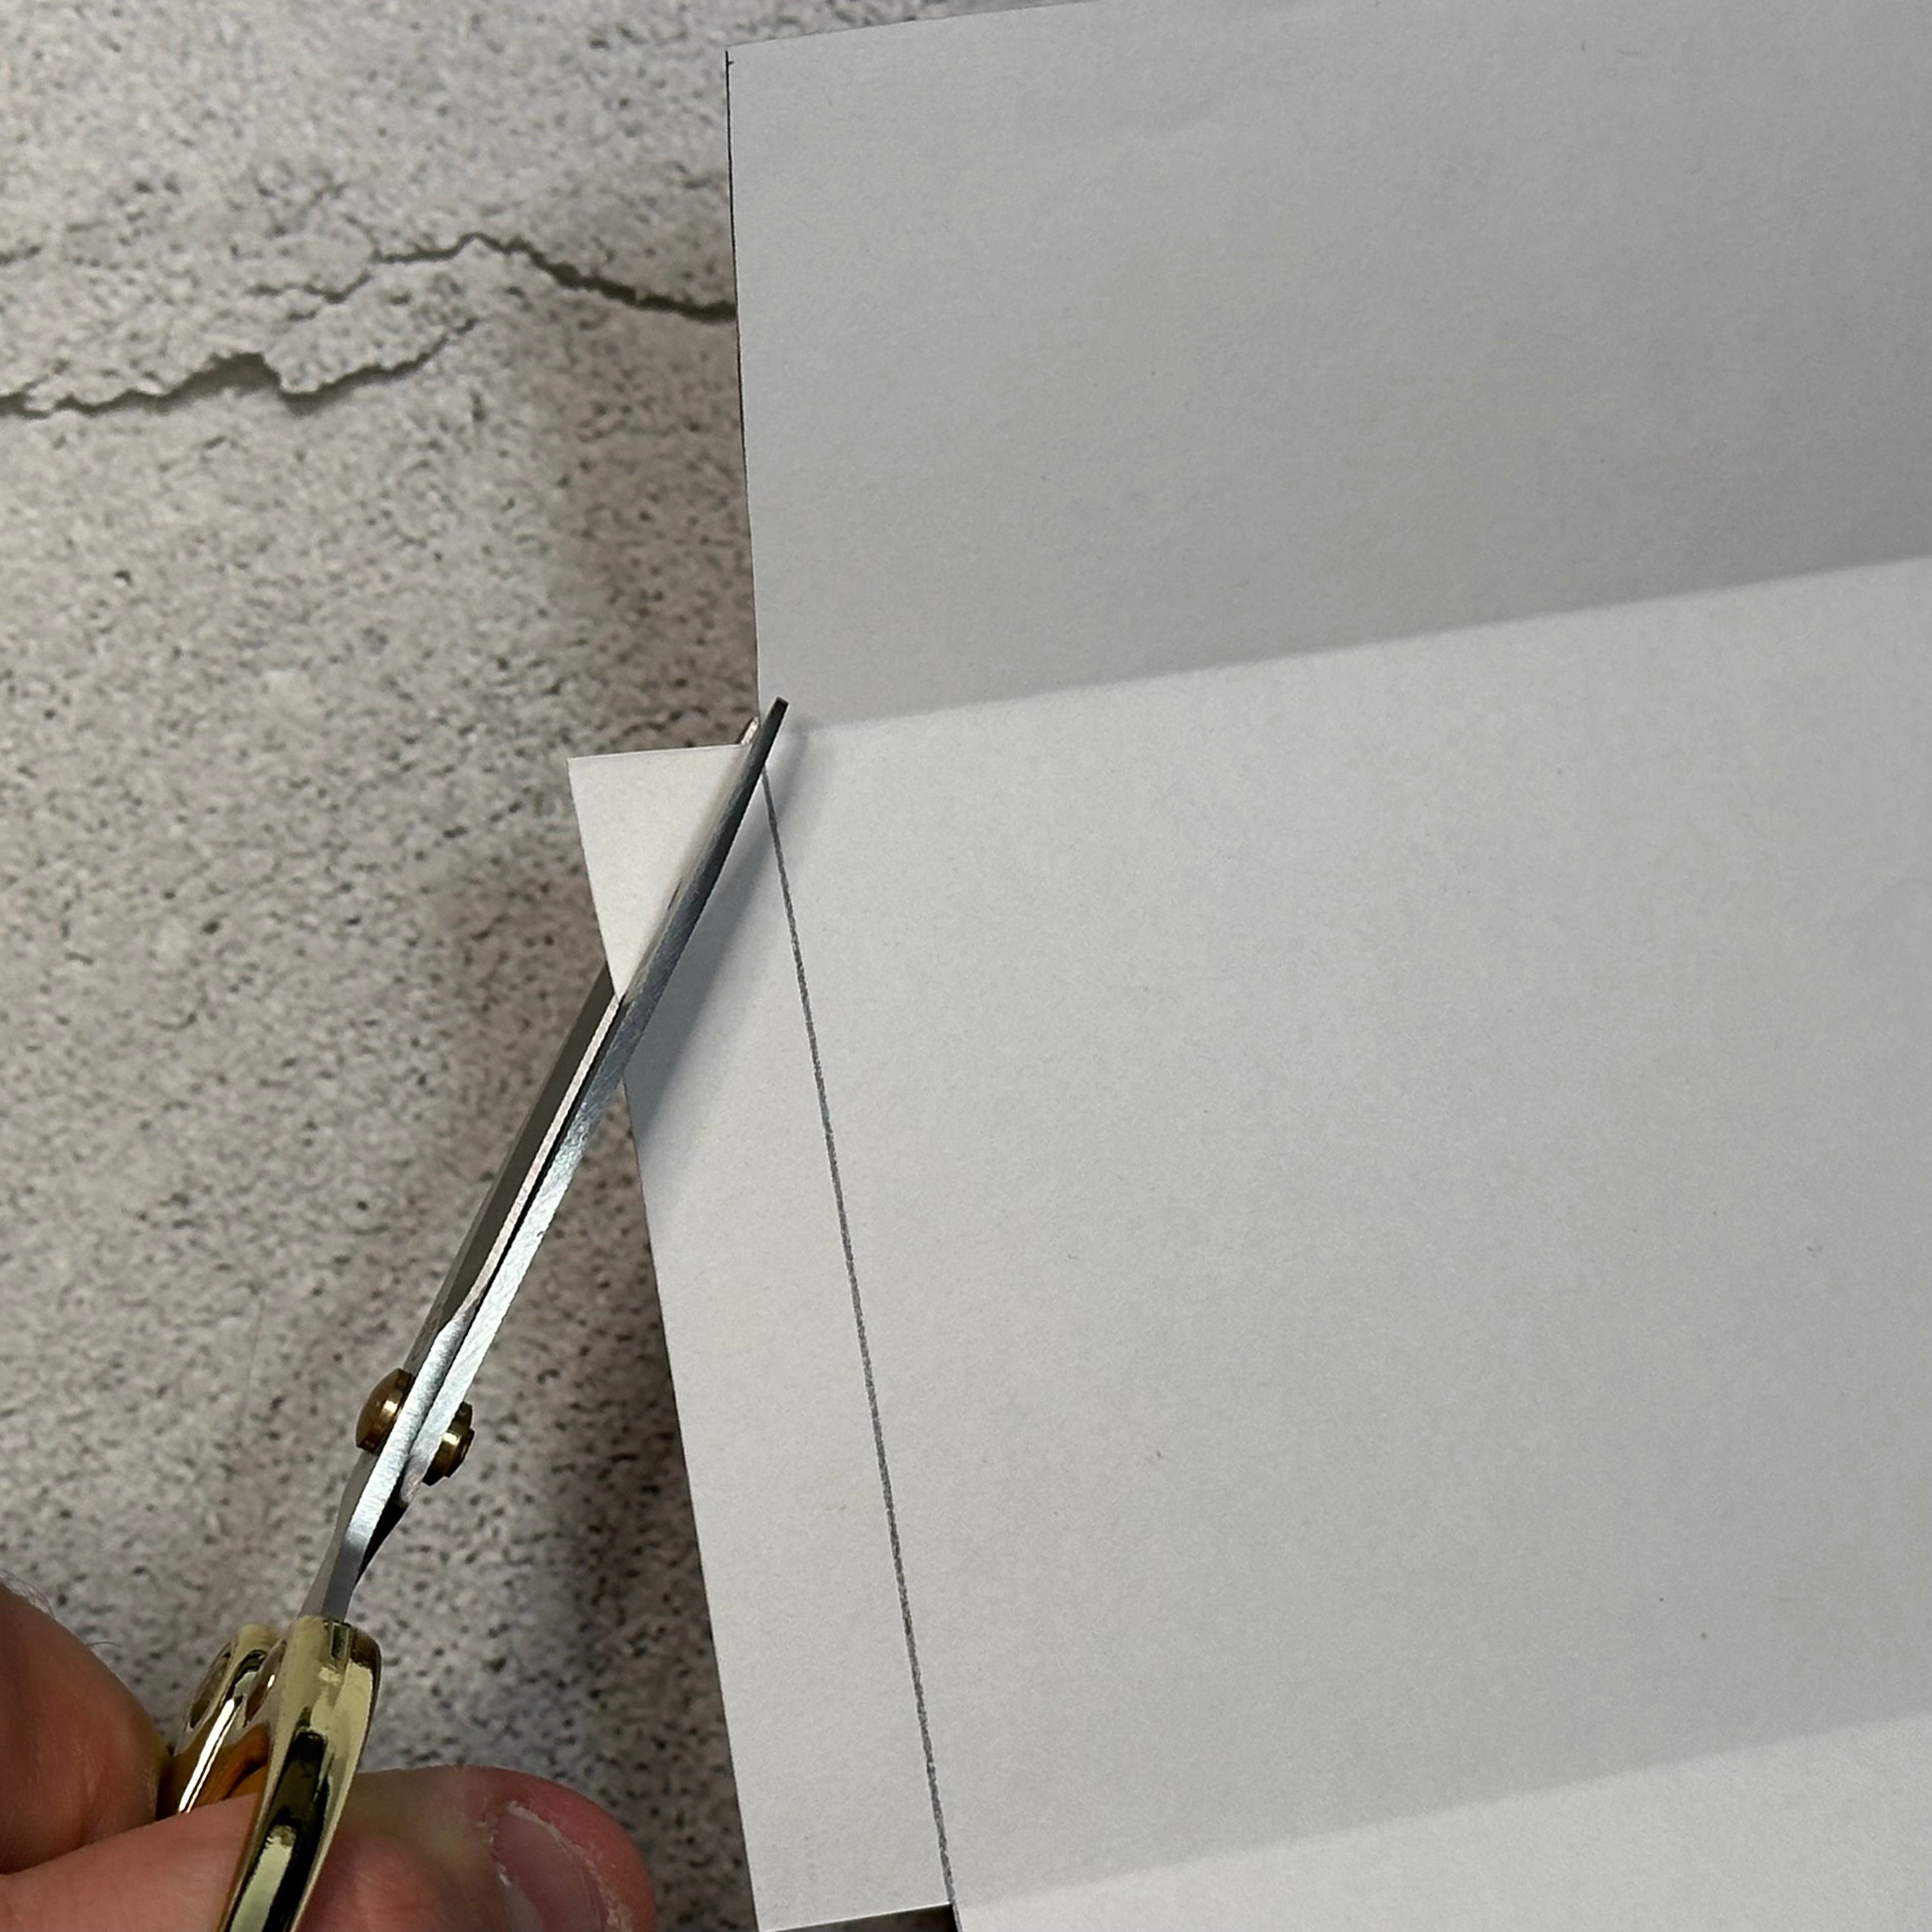
Now we're going to use our scissors and we're going to cut from the fold up to that solid lin. Next, we're going to follow that line across and cut out that rectangle on the left and the right hand side. Now your paper should look like this.
Using your scissors, you're going to cut an angle on the bottom part on the left-hand side and on the right.
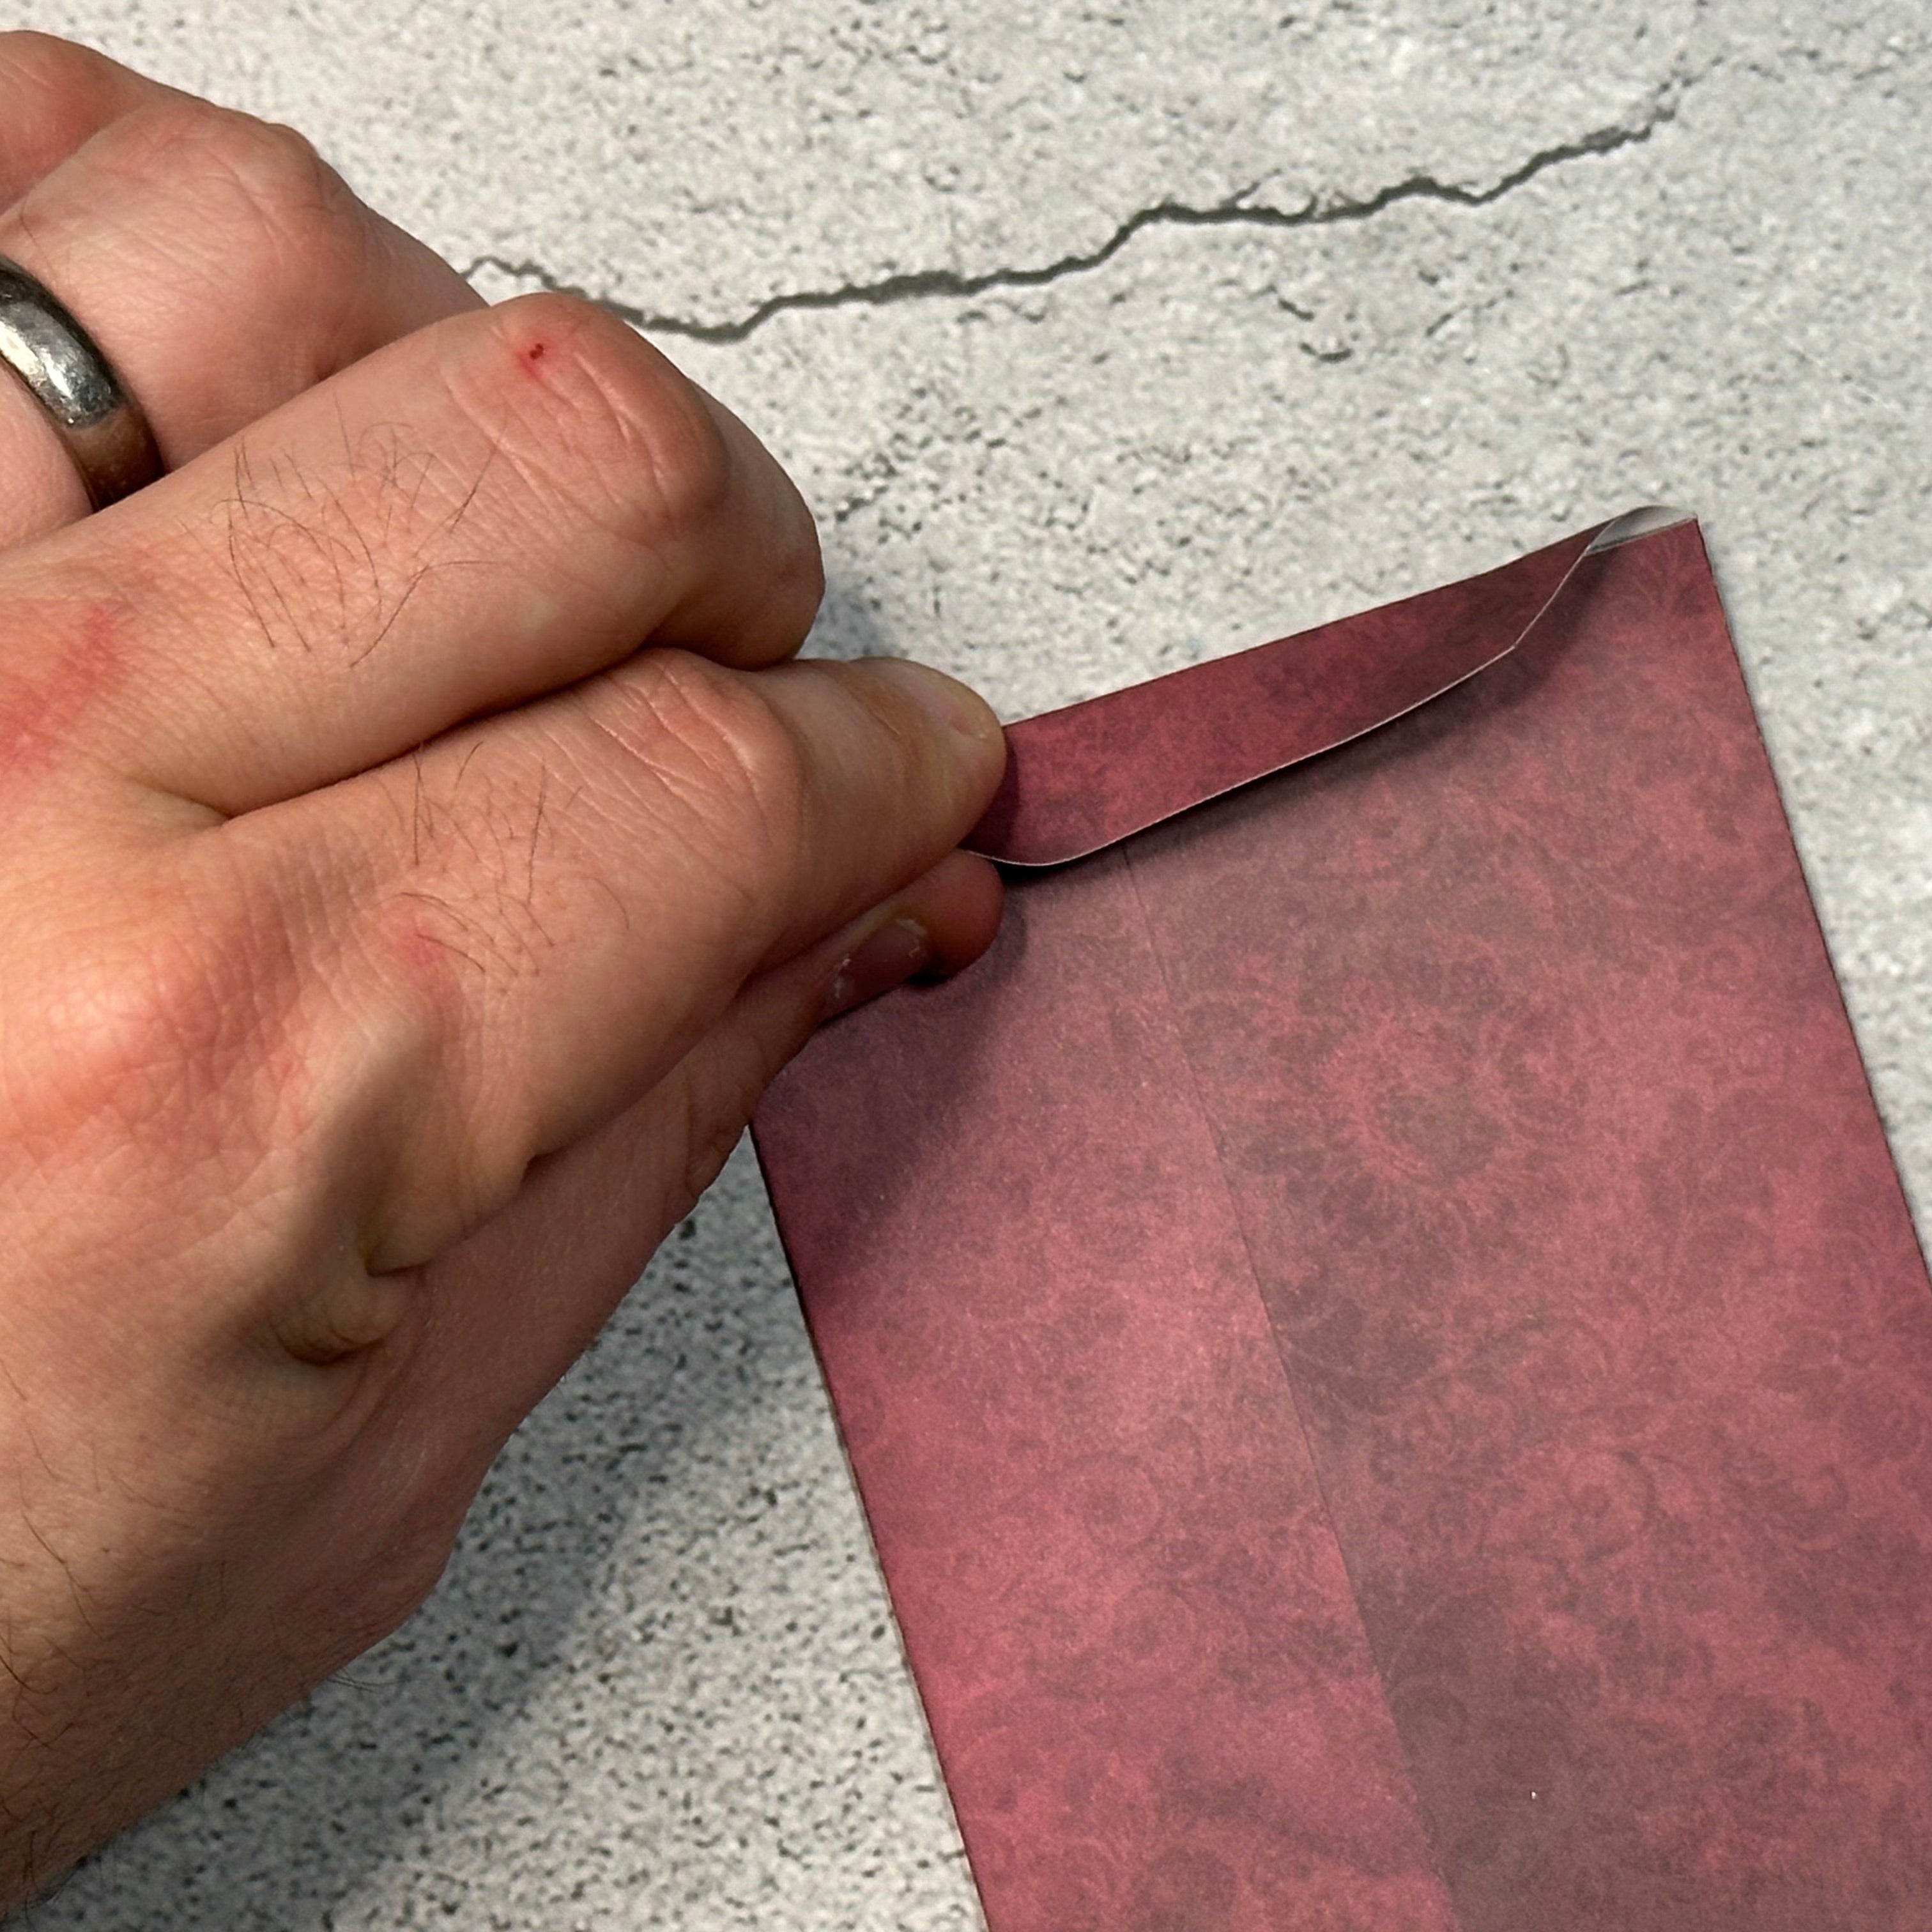
Get your double-sided tape ready because now we're going to go ahead and secure the rest of this envelope. Fold the right side of your paper over to the center mark. Then using your double sided tape, you're going to put a line of tape down. Now, you're going to fold your left-hand side over top of that taped area and press down to secure it.

We're going to put a line of tape on the bottom tab and fold that over to create the bottom of a envelope.
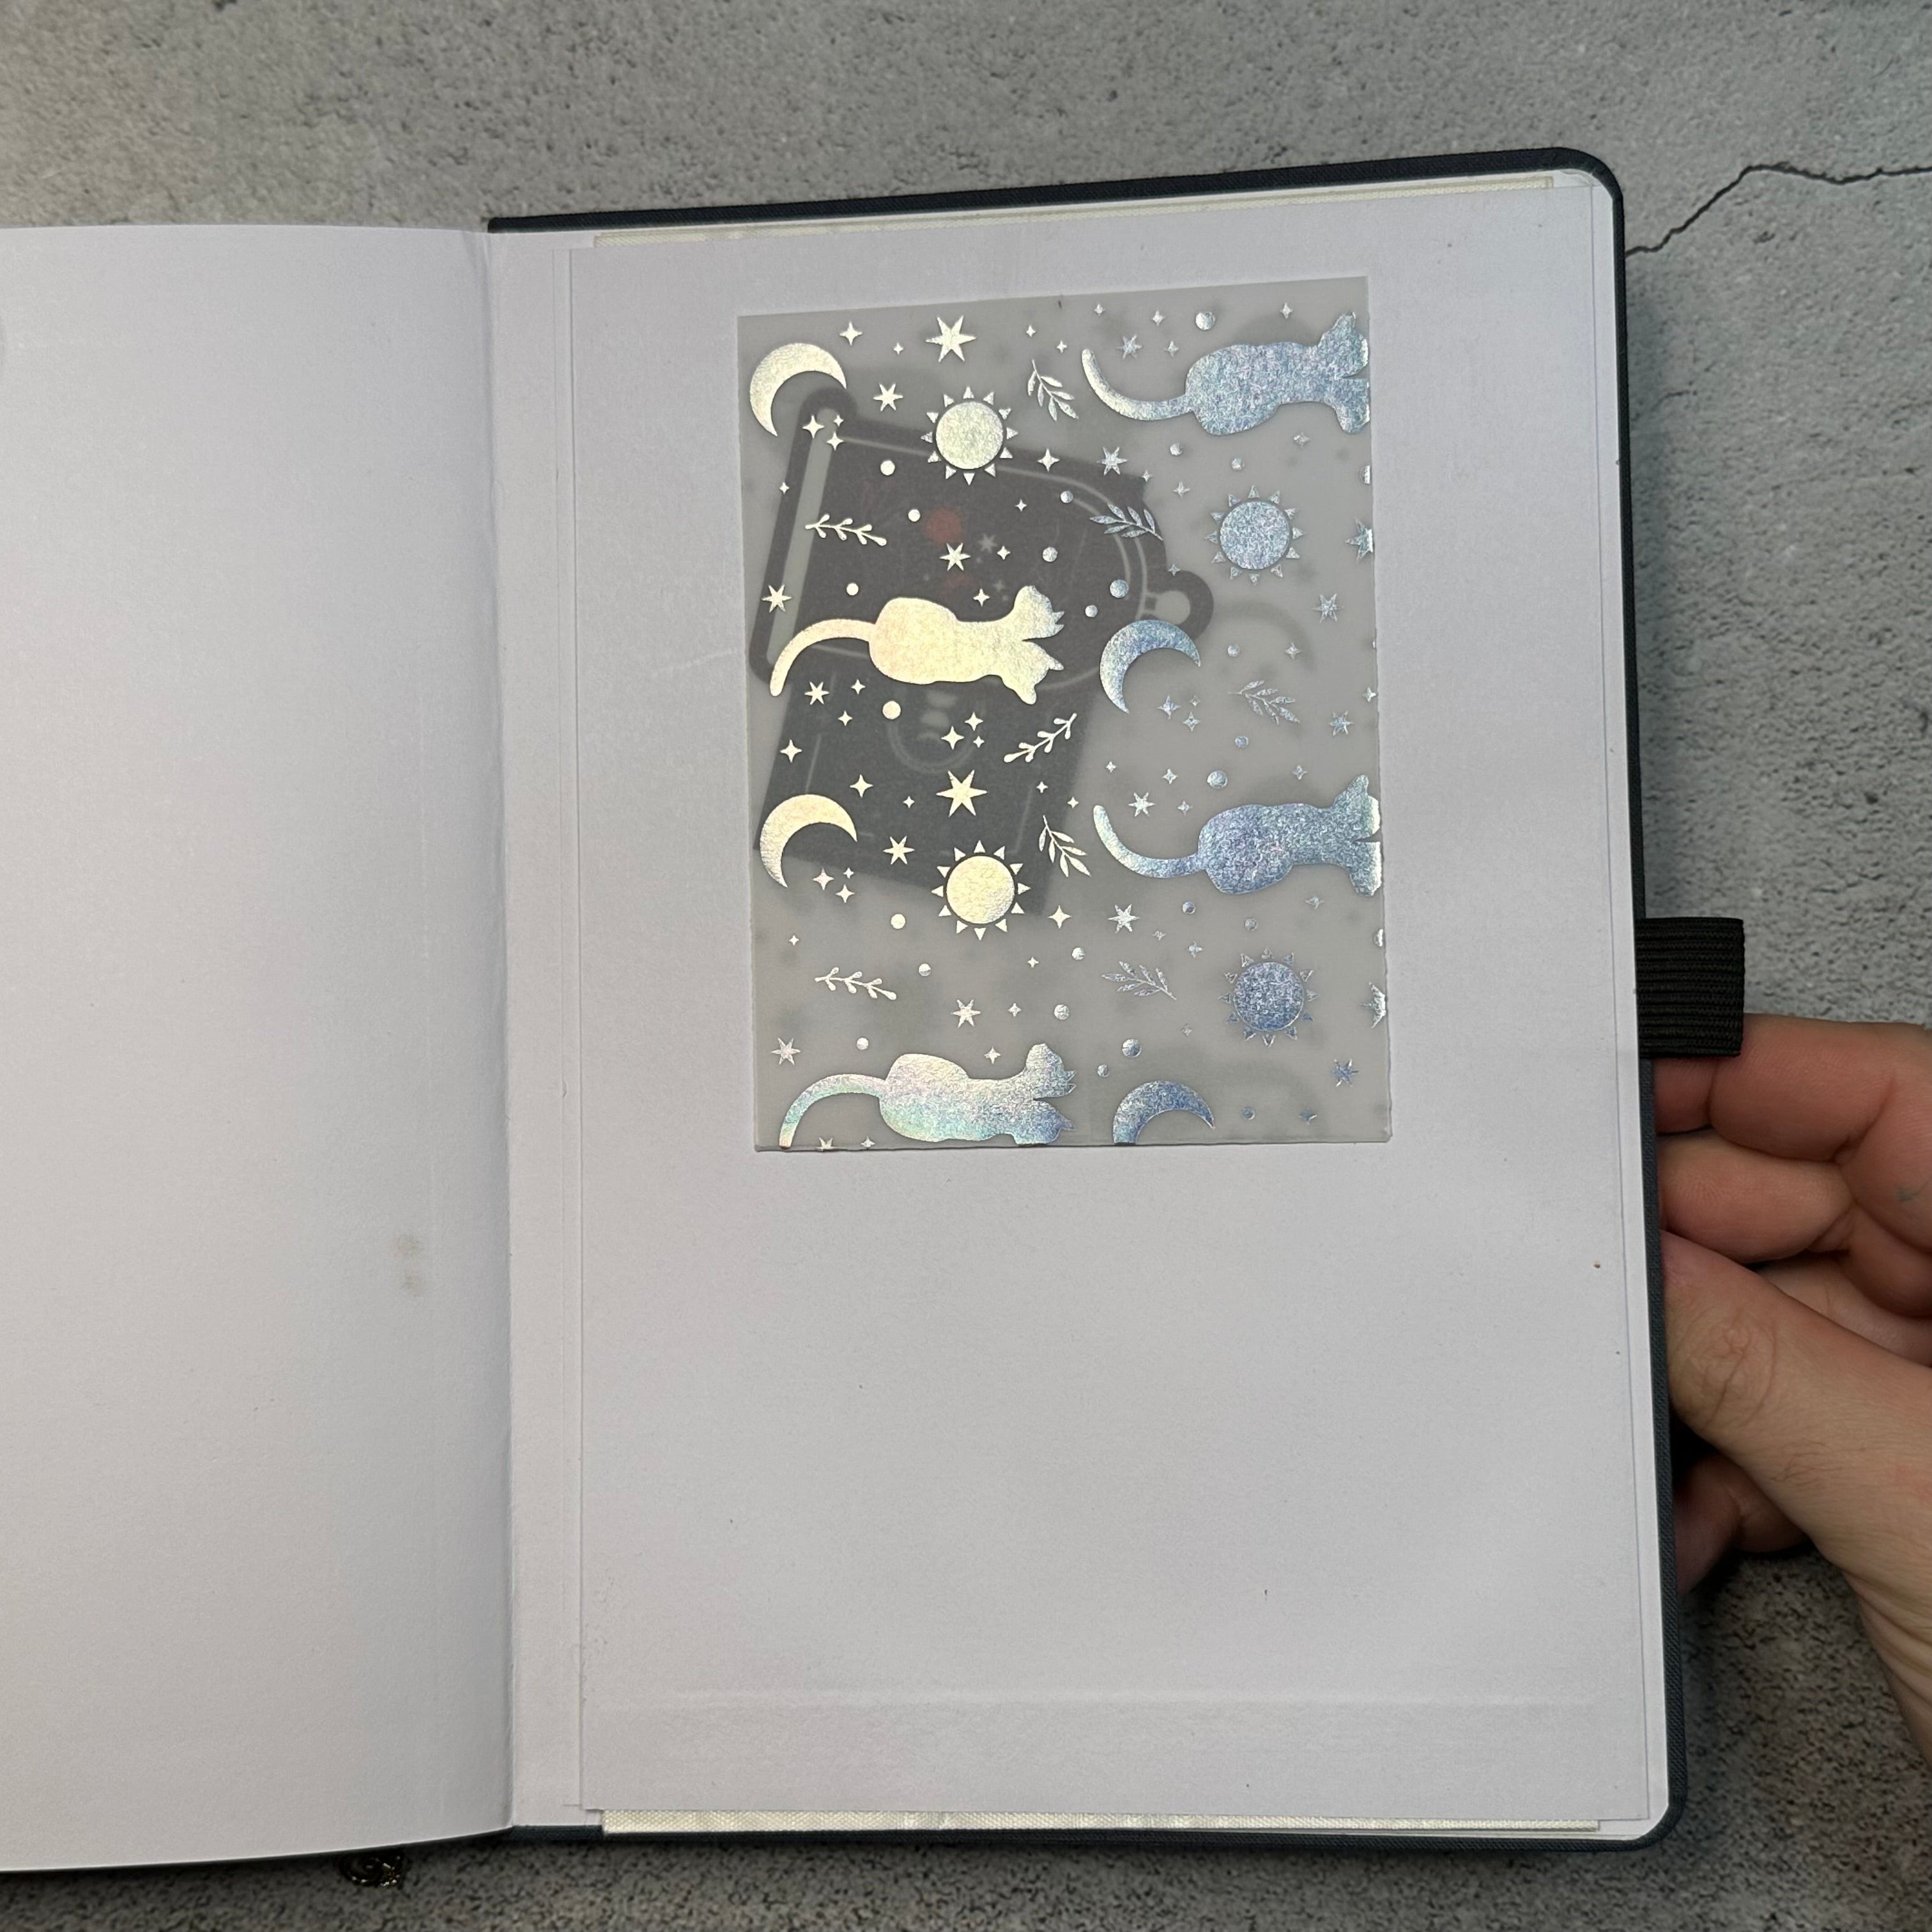
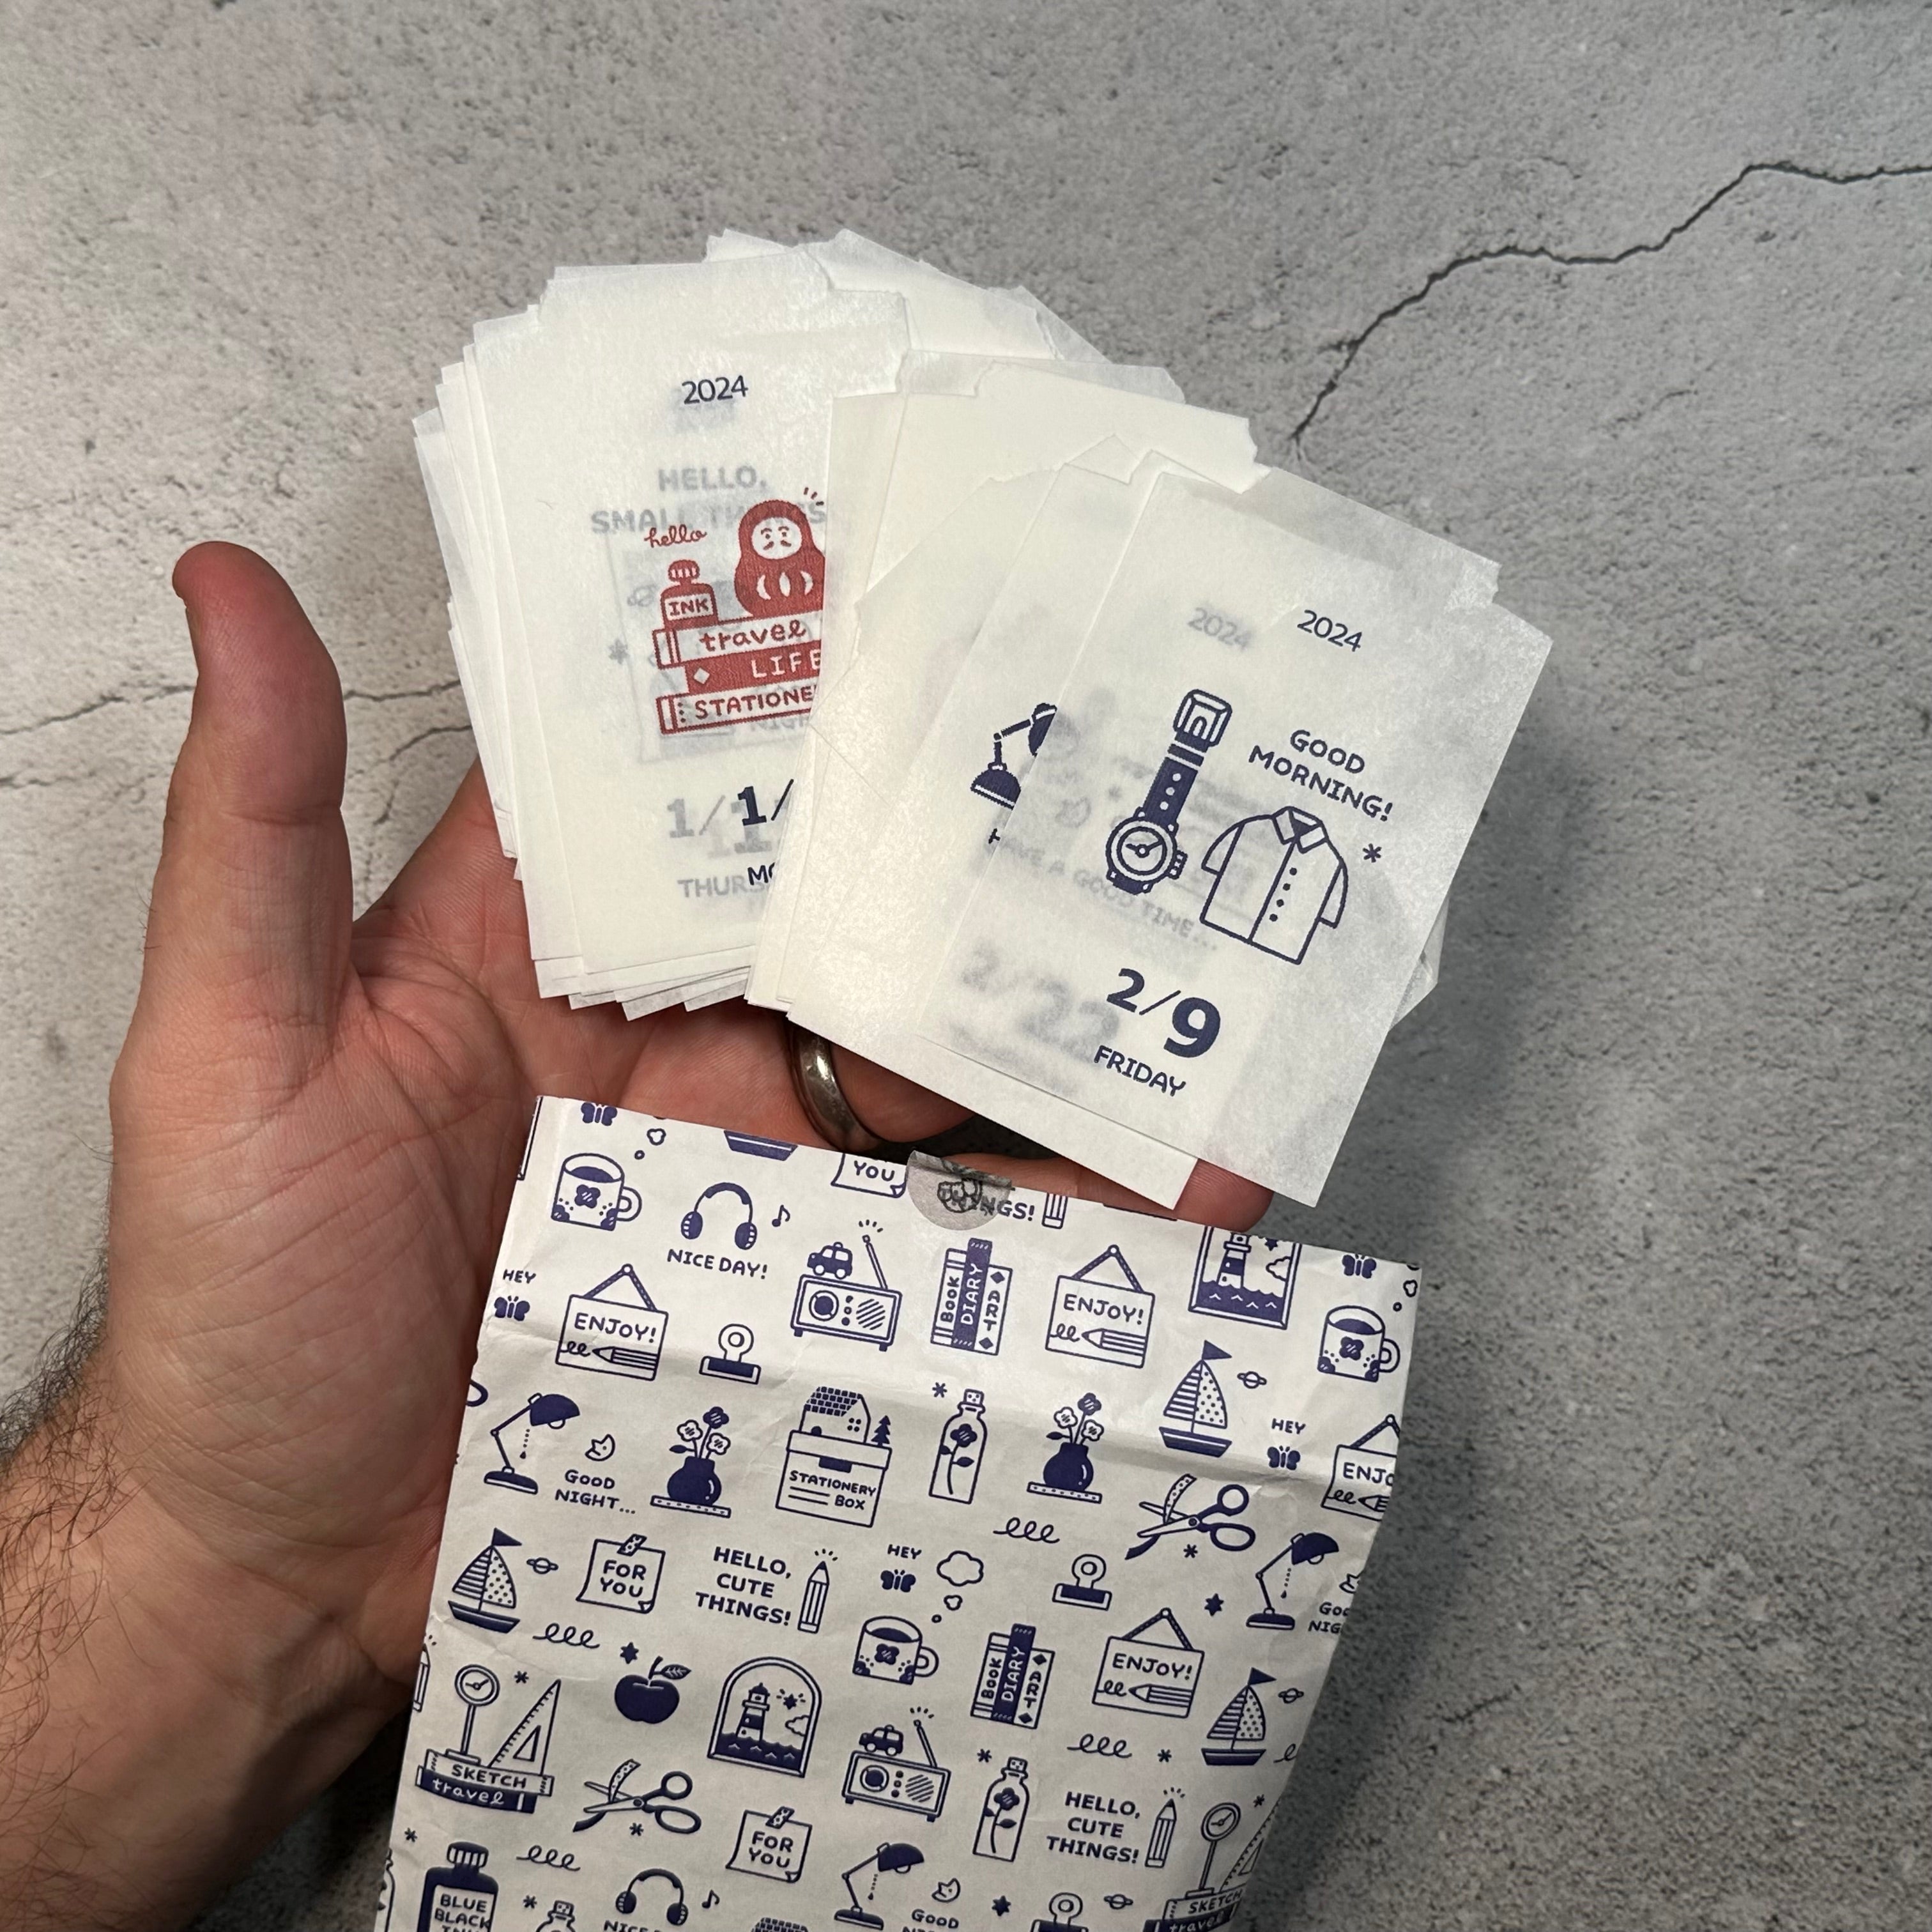
Now that you know how to create these envelopes, you can use them in so many different ways inside of your bullet journals. You can use on this as extra storage in the back of your notebook. Sometimes I like to put extra notes inside of here or in this case, some different types of stickers. You could also create an entire bullet journal spread if you wanted to using smaller pieces of paper. I've created a notes to myself collection page here, where I'm writing down notes to myself in the future every six months.
I'd love to hear for you I'd love to hear from you down in the comment section on ways that you think you would use these envelopes inside of your bullet journal and planners.
Need a bit more help? Check out this handy video:
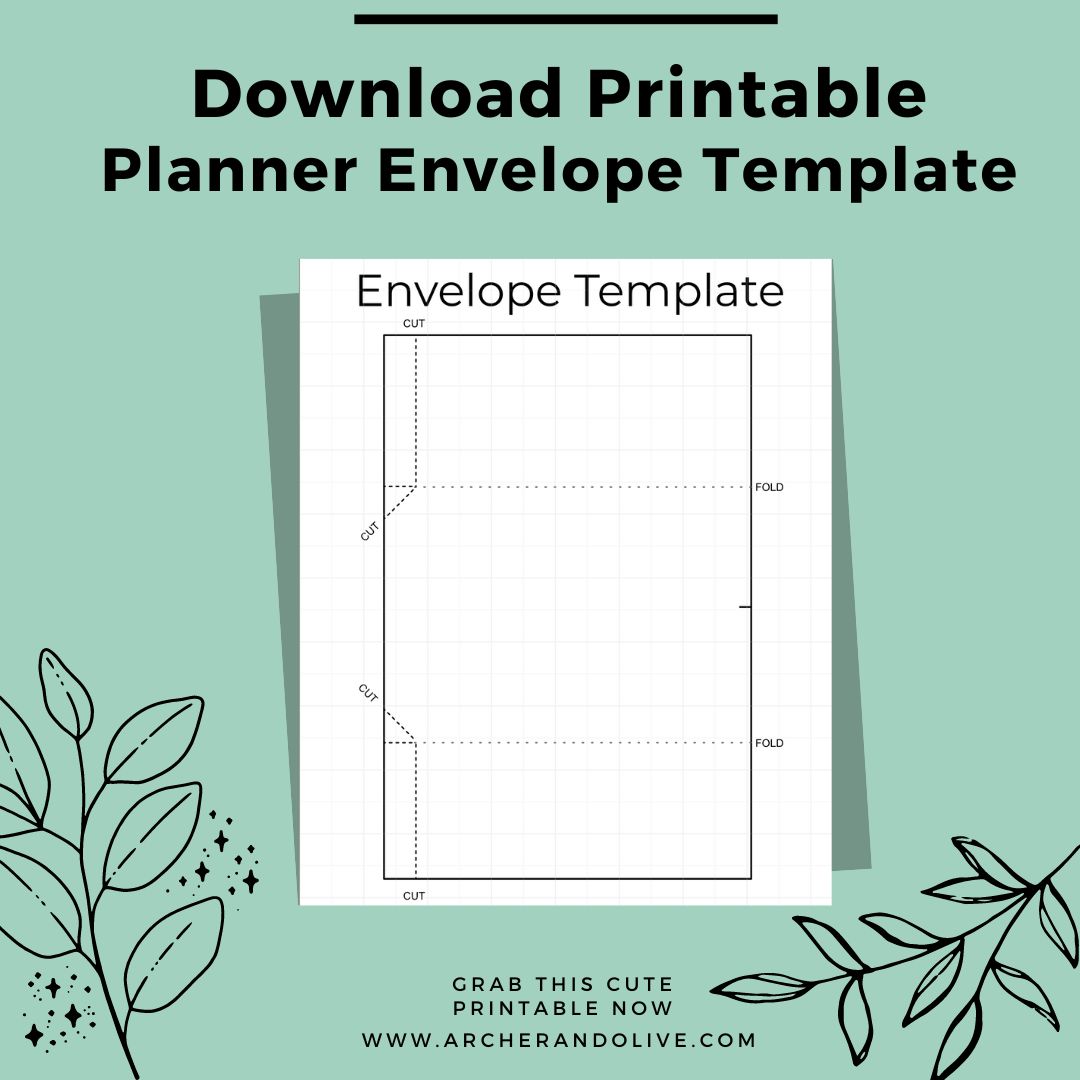
We've also included a free printable, which is a template of how to create these envelopes for yourself practice with us first before you use any paper that you have at home and I can't wait to hear and see what you're creating with these inside of your planners.
1 comment
I love your video!!!! They are so cute….cant wait to try making some!! Thank you for sharing your creativity 😁