How To Create A Monthly Memory Keeping Spread That Fits Any Bullet Journal Theme
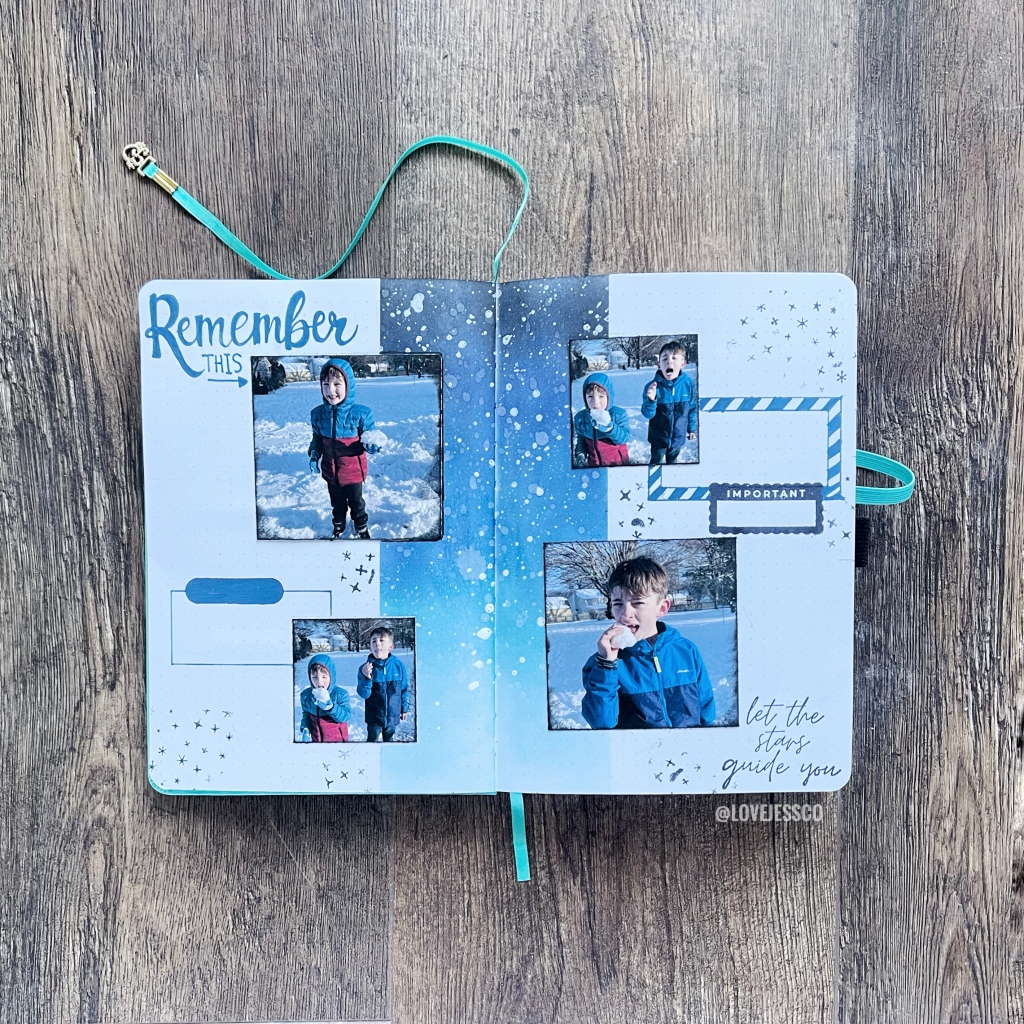
Hey there! It’s Jess from the YouTube channel Love, Jess. Today, I’m sharing a memory keeping spread that can be paired up with any theme or color palette. I went with a celestial theme, but when it was paired with my winter photos, it looked like a beautiful snowy scene. You can change the colors to make this fit your spreads through the year, which makes it such a nice spread to have in your planner toolkit.
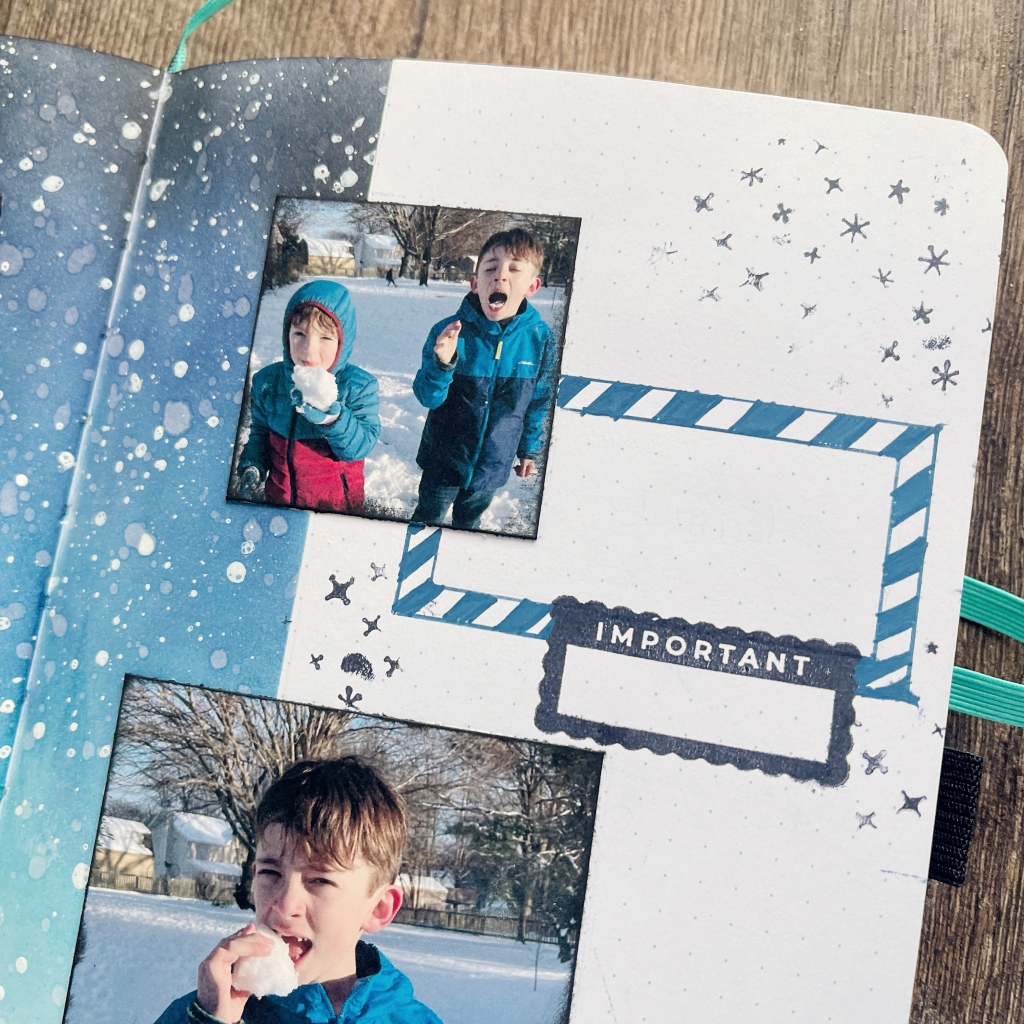
To get started, I used a piece of scrap paper slightly larger than my journal page to prevent any ink getting on other pages or my journal cover. I tucked the scrap paper behind each of the pages I was working on. I also used some Post It Note tape to mask off the areas I knew my pictures would go later. For my ink blending, I used a few ink pads called Distress Inks. I used an ink blending tool with a foam pad to apply the ink to my planner. To get the ink on the foam pad, you just rub the foam directly on the ink pad in a circular motion, then do the same circular motion to apply the ink to your planner page. I like to start with my lightest color first and then add darker colors as I go. To see how the blending comes together, check out the time lapse video below!
Once the ink blending was done, I was ready to add a little water to my page to get a distressed effect. The cool thing about Distress Inks is that they react with water. I spritzed some clean water into my hand and then flicked the water droplets on to my planner page. You don’t need a ton of water here, a little goes a long way. After waiting a few moments to let the water work its magic, I used a clean paper towel to blot up the excess water. When I removed the paper towel, the ink had lifted from the spots where water had pooled. It gave my ink blending a really cool texture and dimension!
Next, I wanted to add the feeling of a night sky, so I grabbed some Acrylic Gloss Spray. This is basically liquid acrylic paint in a spray bottle. I took the lid off and tapped the lid over my journal page. Little white splatters fell all over my background - they look like little stars! Adding splatters is one of my favorite ways to add a little something extra to my art.
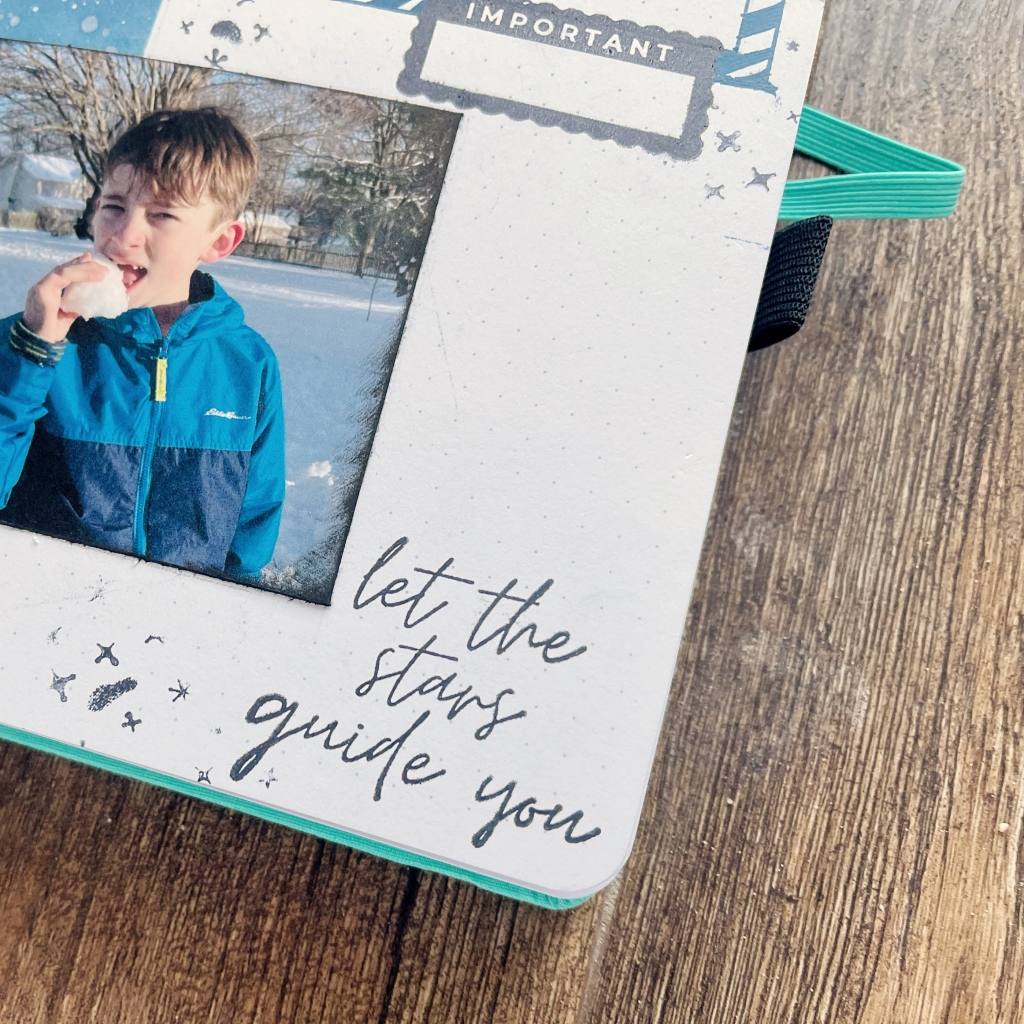
While my layout was drying, I got my photos ready. We had a late snow this year, which is so rare for our area, so I just had to use some snow pictures even though we’re getting into spring now. I printed my photos on matte paper and trimmed them to 3”x3” and 2”x2” to fit the spots I had masked off earlier. I used a little of the Black Soot DIstress Ink to distress and darken the edges of each photo, then attached them to my layout with a tape runner.
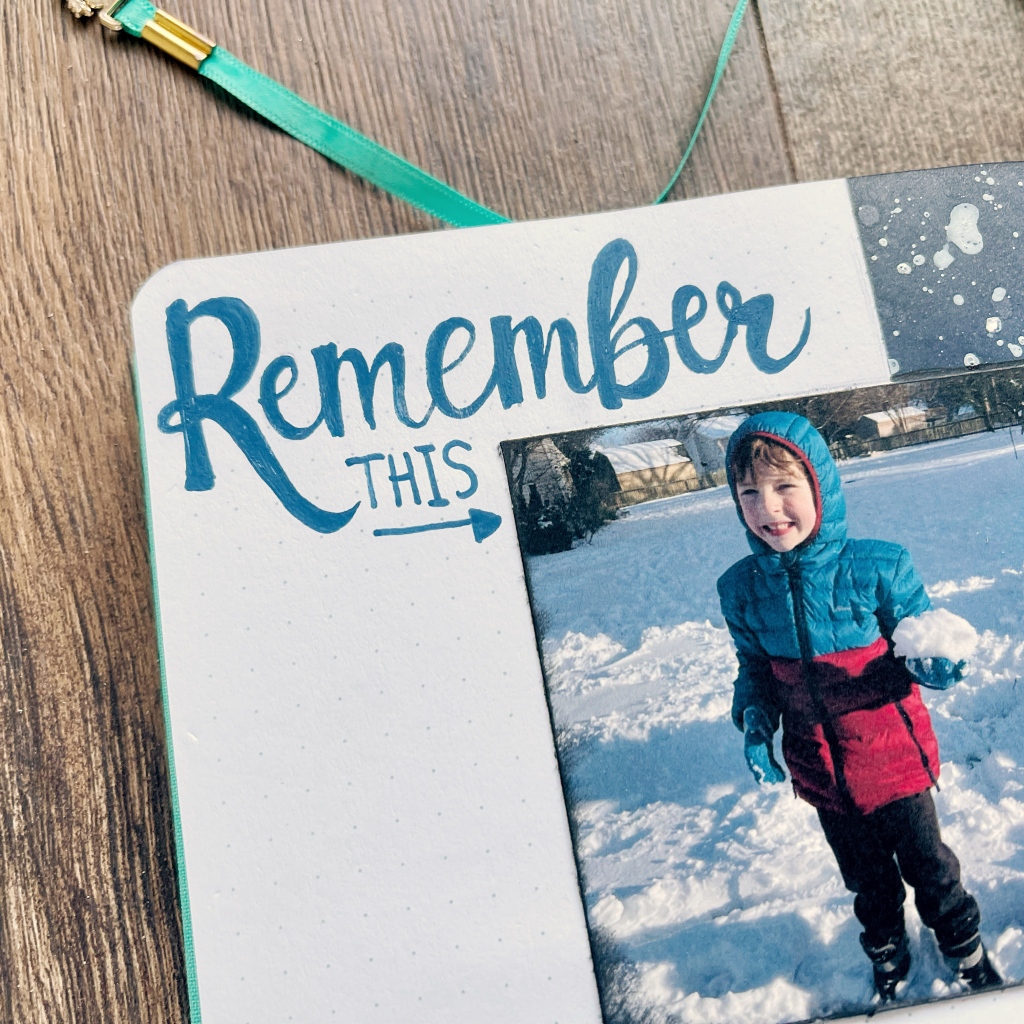
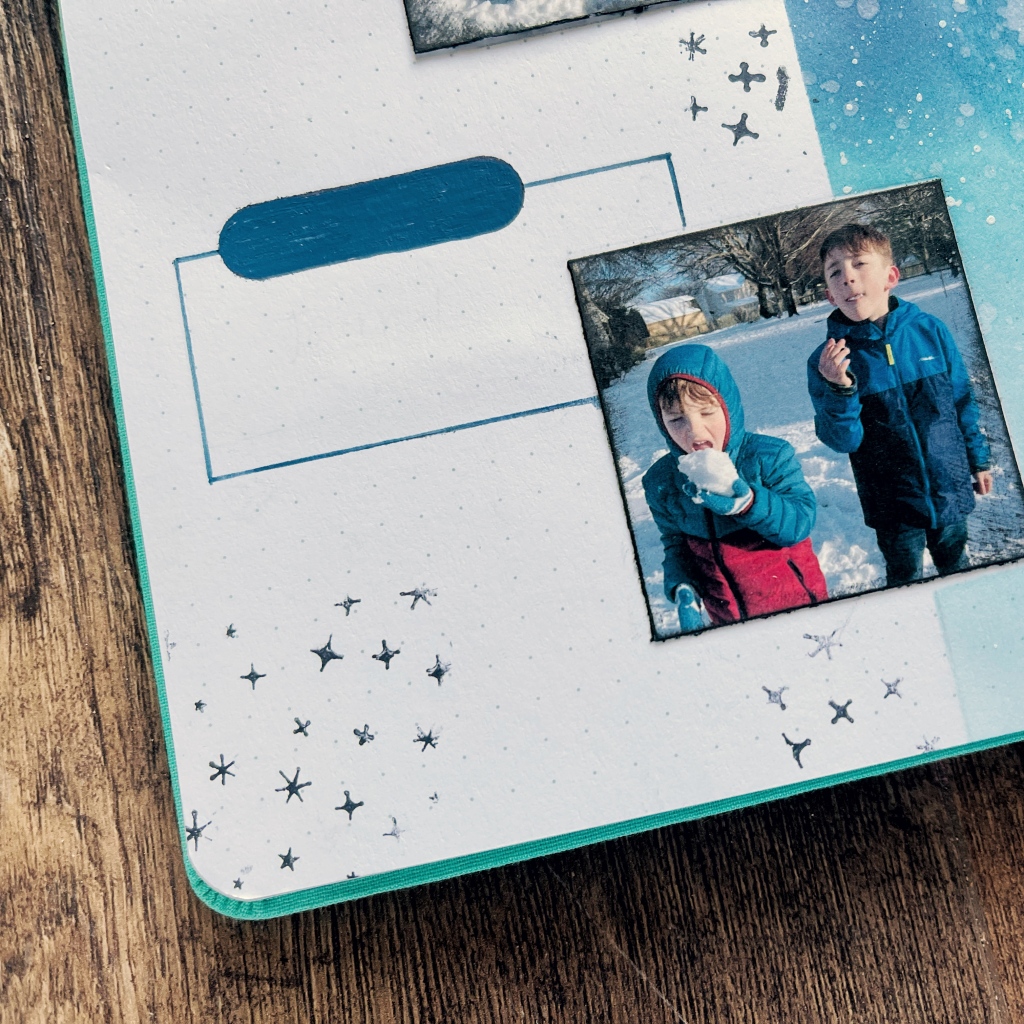
I hand lettered a title for my memory keeping layout with an Acrylograph pen. Then, I decided to add in a bit of fun with some adorable celestial themed stamps from Archer & Olive. I used black ink and an acrylic block to stamp the images and did some accenting with one of my Acrylograph pens in blue. Be sure to check out the time lapse video to see how the stamping came together!
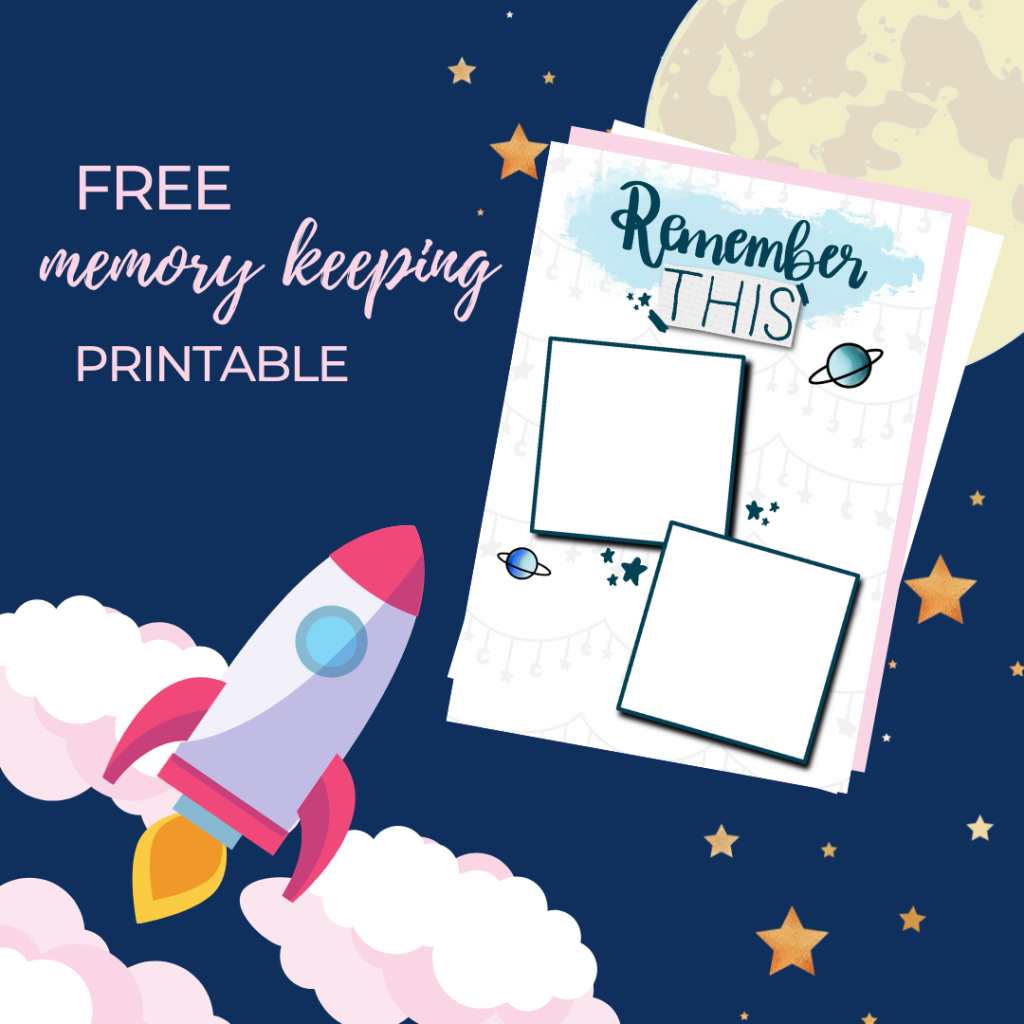
If you’re not into getting inky with your layouts, consider using this freebie I designed for you. I based the design off of my layout. You can just print it and glue it right into your planner for a quick and easy memory keeping layout in no time. Click the photo above or HERE to download your free layout.
I hope you love this layout. I can’t wait to see how you adapt the layout and make it your own with new color palettes or themes. If you share your creations on social media, be sure to tag @archerandolive and @lovejessco so we can see what you’re up to and share some love!
Sending you all the best planner vibes,
Love, Jess
(Affiliate Links used where available)
