How To: Scrapbook Style Reading Goals Spread in a Square Notebook!
Hello, friends! Elizabeth here from Plant Based Bride on YouTube and @elizabethturn on Instagram. Today I'm sharing tips for creating a scrapbook style reading goals spread in a square notebook!

I love reading (last year I read 125 books!), and this year I decided to create a reading journal to track my reading stats and commemorate the books that really move me.
One of my favourite aspects of reading is gaining access to a window into people's lived experiences from all over the world with never-ending diversity of identities. But it can be far too easy to fall into the trap of only reading books that reflect your own experience back to you! I decided to set some reading goals for 2021 to keep me on track when it comes to reading diversely.
I hope this spread inspires you to create some reading goals of your own!
If you'd prefer to watch a timelapse of the process rather than following along with this blog post, check out this video:
Without further ado, here are the steps to create this scrapbook style reading goals spread!
SUPPLIES
- Bullet Journal - I’m using the Archer & Olive Square Morning Sun Notebook
- Pencil, Eraser, Ruler, Scissors, and Glue
- Letter Stamps and Ink Pad (optional) - I'm using this stamp set and this ink pad
- Fine tip black fineliner - I'm using the Sakura Micron fineliner in 01
- Scrap Paper, Washi Tape, Stickers, and Printed Images

STEP ONE: SKETCH
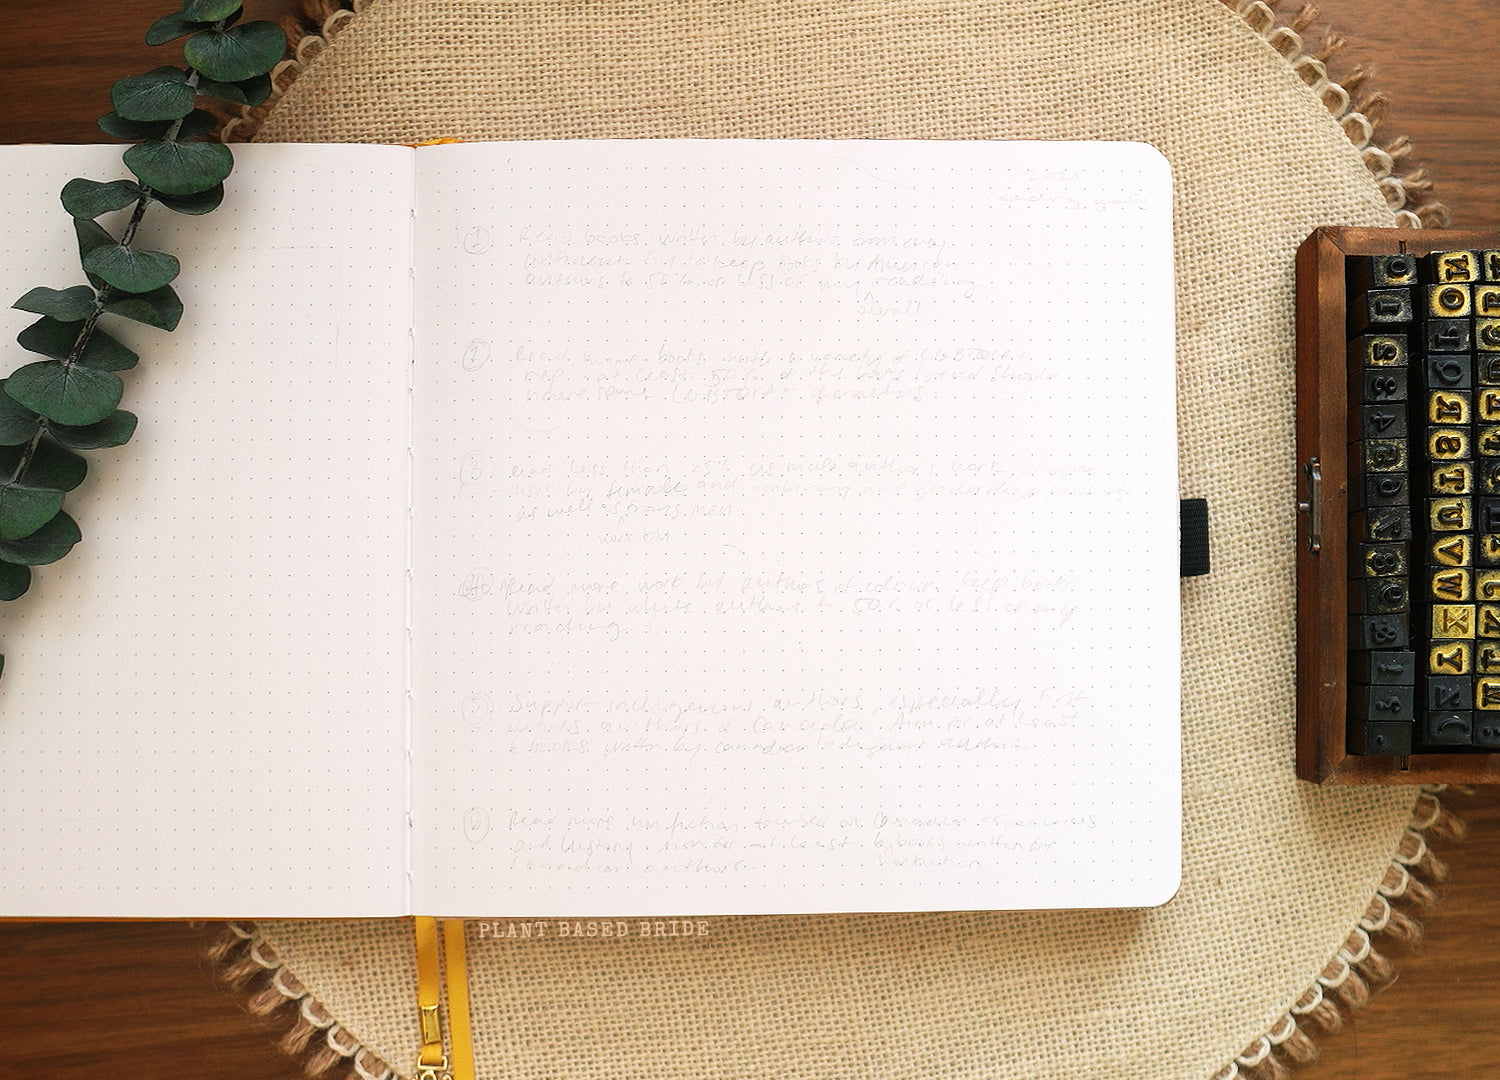
Start with a sketch of your spread to figure out the layout and spacing.

STEP TWO: ADD SCRAP PAPER
Use some scrap paper to create a background for the header. I like to rip it, glue it down, and trim the edges for a clean finish. Here it is before the trim:

STEP THREE: STAMPS
Use your stamps to add the goal numbers down the left side and the header on the right. You can just write these if you don't have an alphabet stamp set!

STEP FOUR: FILL IN YOUR GOALS
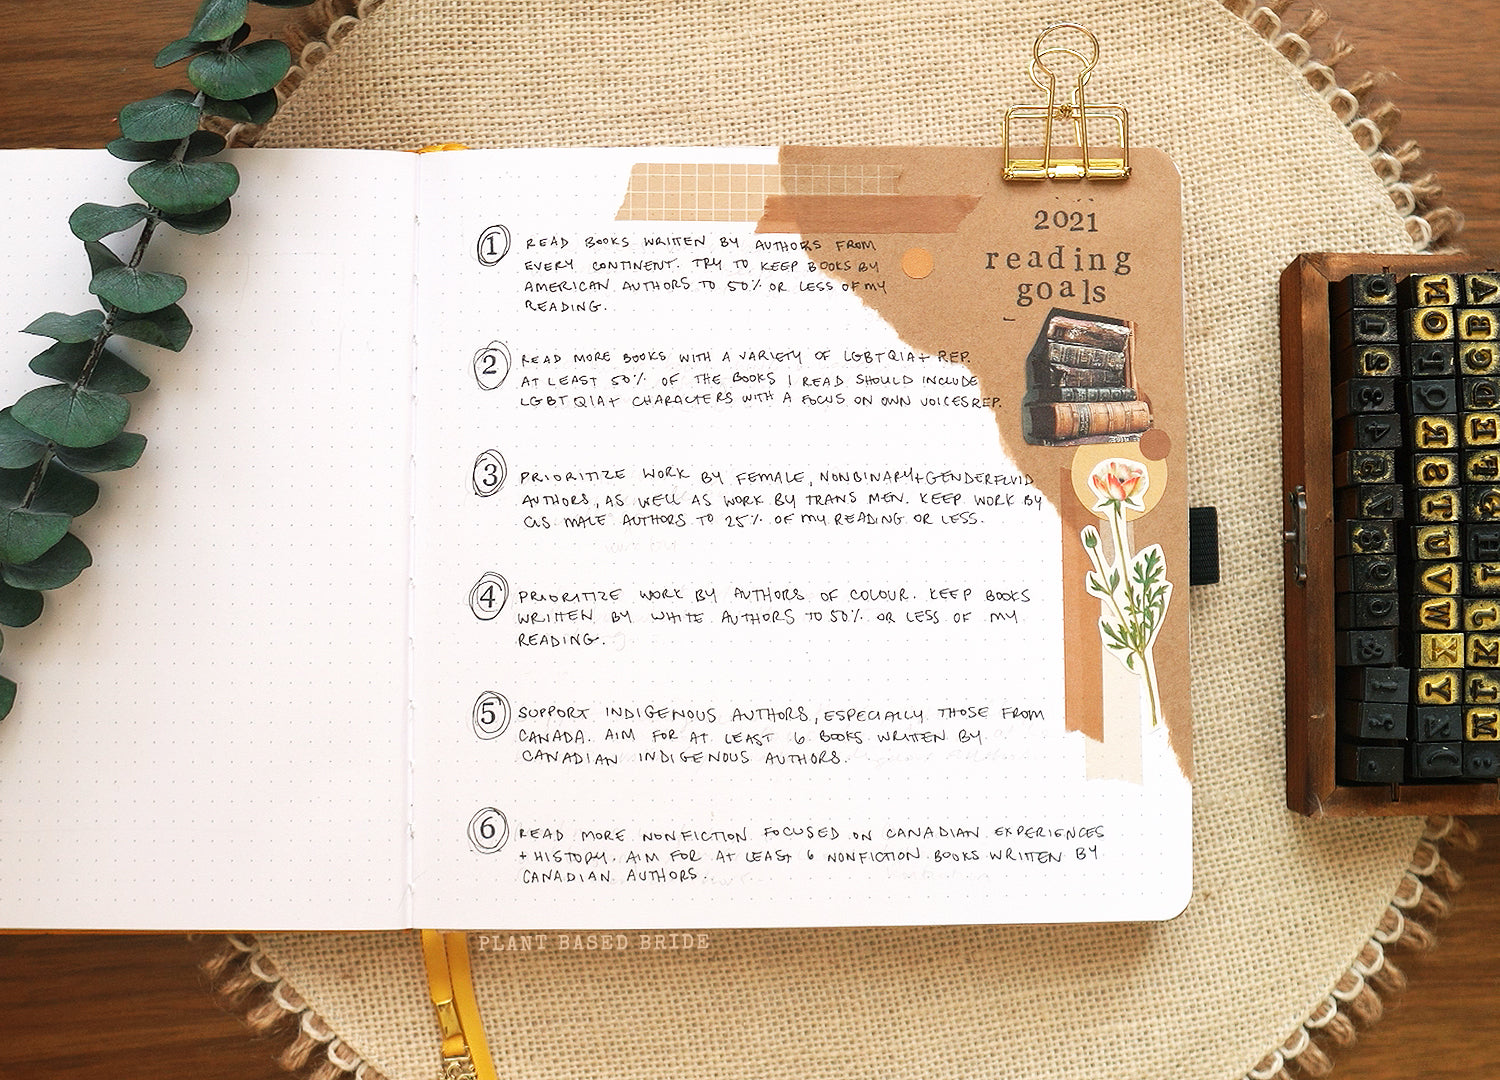
Use your fineliner to fill in your reading goals. Feel free to use mine as inspiration!

STEP FIVE: ADD WASHI TAPE
Use some washi tape to add colour and layers to your spread. I love to start with a thicker piece and add an overlapping thinner piece of another colour on top! You can also add stickers, like this circle kraft one:

STEP SIX: ADD PHOTOS
Print some photos that relate to your spread or fit the aesthetic you're aiming for. I'd suggest keeping them quite small so they don't overwhelm your spread! I chose an image of stacked books and an old vintage drawing of a flower and glued them in (and added some tiny stickers, too!)

STEP SEVEN: ADD FINAL DETAILS
I love to go in at the end with my fineliner to add little details here and there to tie the whole spread together. Little lines and dots, drawings of branches with leaves or flowers, and even squiggles can fill in open areas and give the spread a more intentional yet whimsical feel!

And that's it!
I'd love to see your version of this spread if you decide to recreate it. Tag me on Instagram @elizabethturn so I can see it! You can also download the printable version of the scrapbook portion of this spread here:


