How to Create Your Own Printable Sticker Sheets
In this blog post, I’ll be walking you through how you can utilize Canva to create your own printable sticker sheets for personal use in your journal spreads. I’m sharing a print then cut (printer to cutting machine) method, but as long as you have a printer, printable stickers are for you!
The Sky’s the Limit
Hello friends! This is Sian or @perceivegrace, on both Instagram & Youtube! There are many ways to create your own printable sticker sheets and many tools you could use based on your preferences. This guide is a beginner-friendly guide that will allow you to craft a vision for yourself to the utmost customization in your bullet journals.
Supply List
Archer & Olive offers planning printable and digital products you can purchase and use over and over again! And of course, Archer & Olive is your one stop shop for your next favorite bullet journal for you to use your printable stickers in. You can use my code SIAN10 to save 10% with Archer & Olive on the tools you need. For this guide, see what I used below:
- Cutting machine of choice (optional)
- Laser or inkjet household printer
- Canva free account (disclaimer I personally subscribe to Canva Pro)
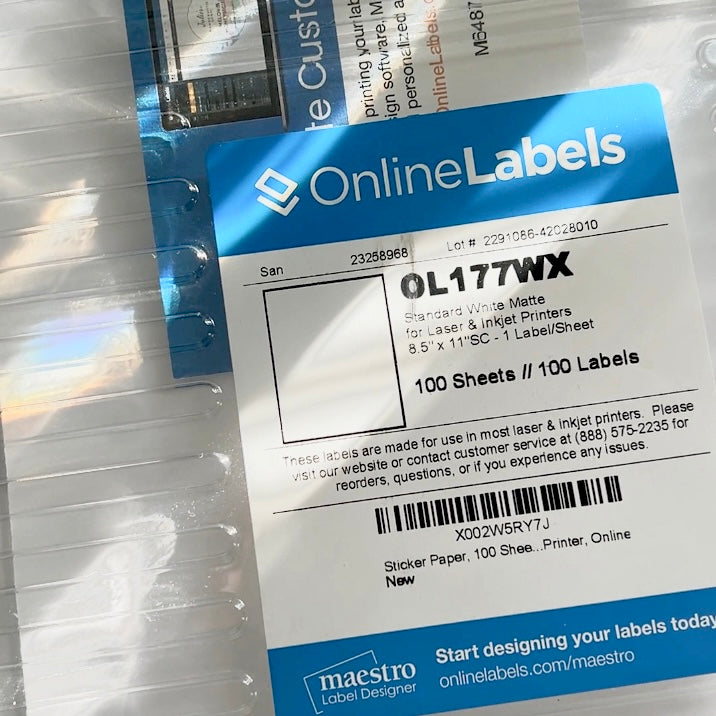
- Regular printer paper or matte sticker paper of choice (the brand I use is pictured below)
- Cutting tool/Scissors if you do not have a cutting machine
Getting Started
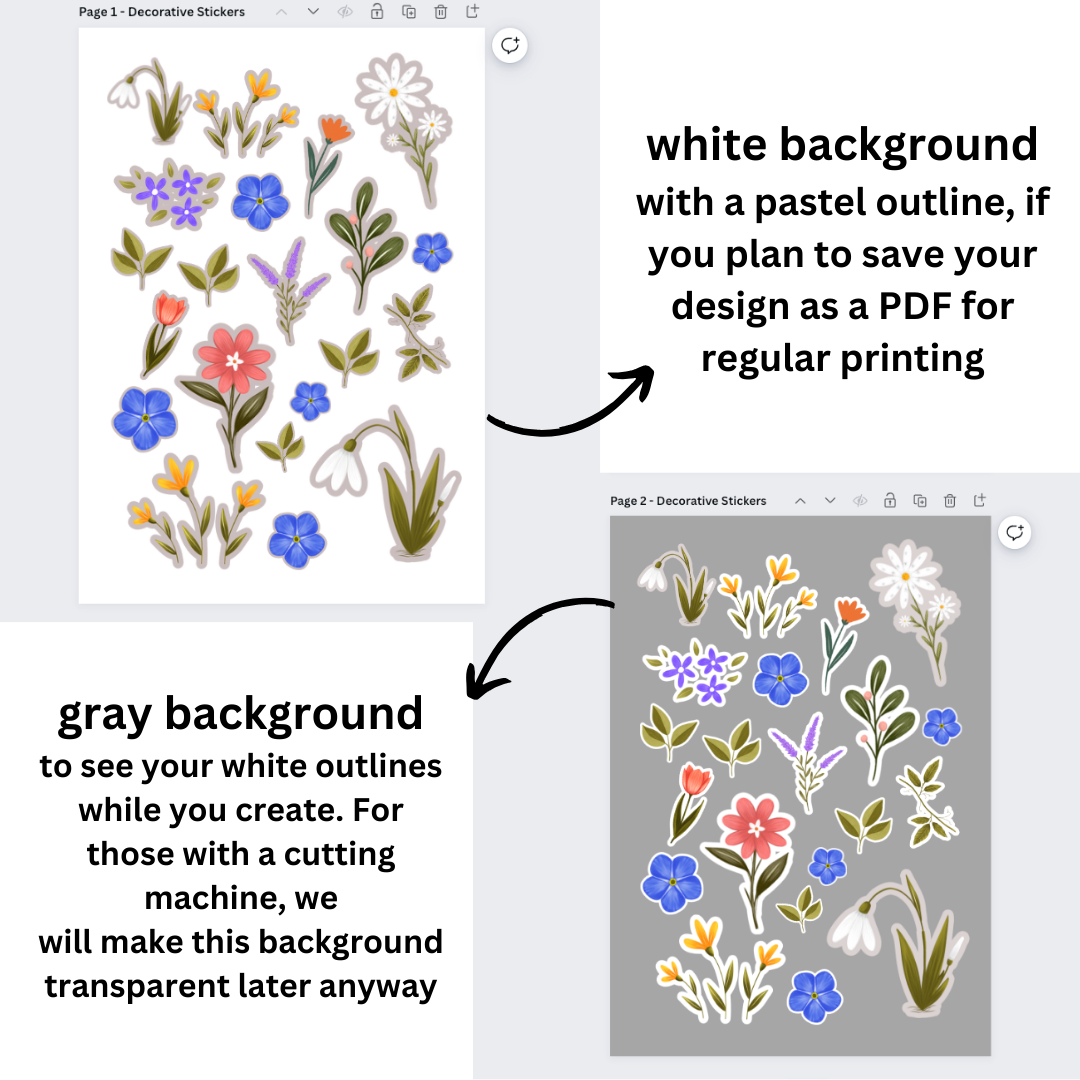
You can start your document in a multitude of ways on Canva but I always do so with a blank A5 document. Once you have the blank starting place, and if you have a cutting machine you plan to use, I recommend temporarily changing the background to a gray (eventually you will make this background transparent) so that when you add outlines to your stickers you can see the outlines super clearly while you’re curating your sticker sheet. If you do not have a cutting machine, you can leave the background white and just opt for outlines that are visible enough in color against the white background, such as a pastel color. I used a light mauve around the decorative stickers in the example below!
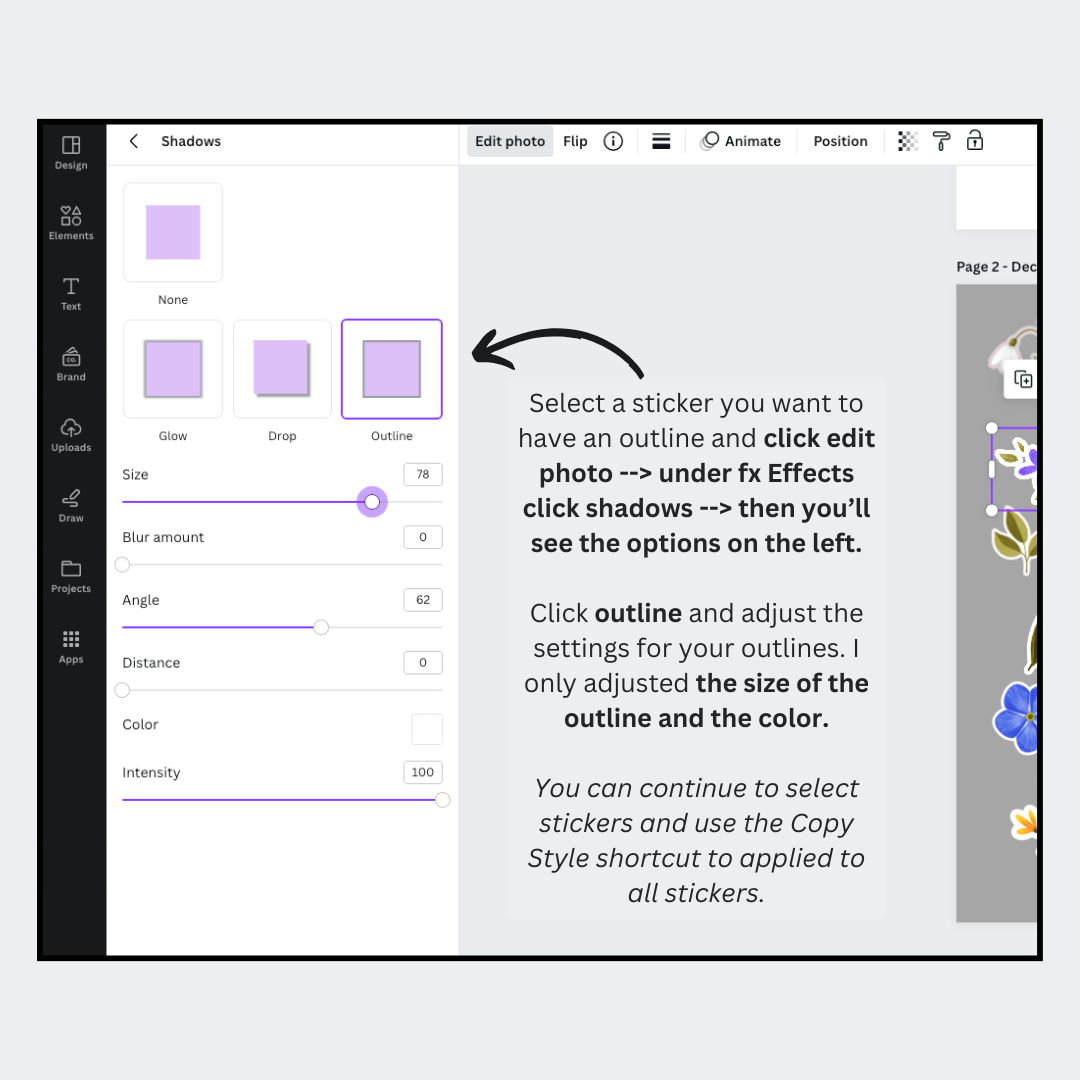
How & Why to Outline your Stickers
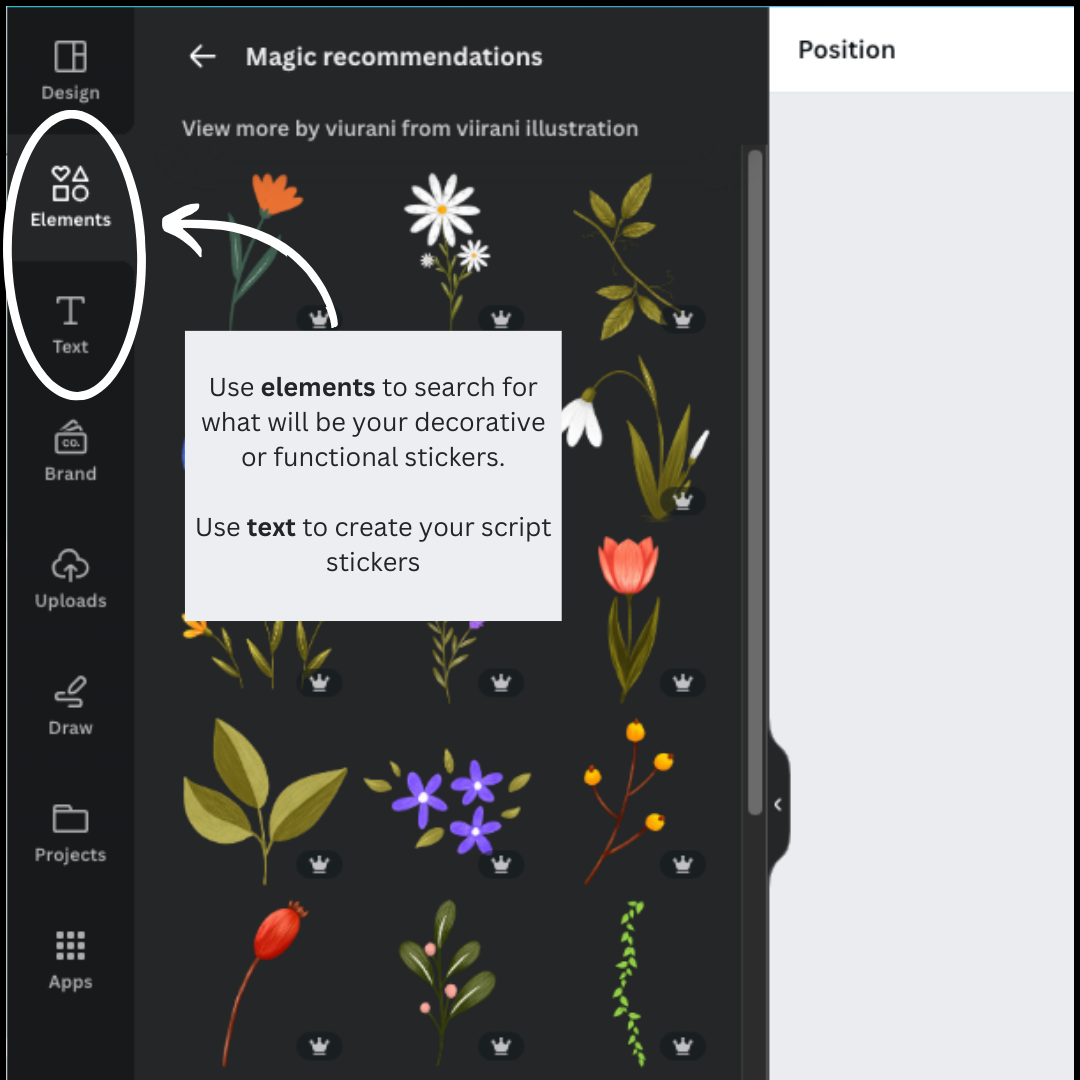
The main reason you might want an outline around your stickers is if there are lines in your objects that are too thin to cut, either by hand or by cutting machine, i.e. flowers/leaves. If you’re working with bulker objects like maybe a book motif or some other object, the outline is definitely optional. In general, you might simply prefer the look of outlined stickers.
How to add Effects to your Scripts
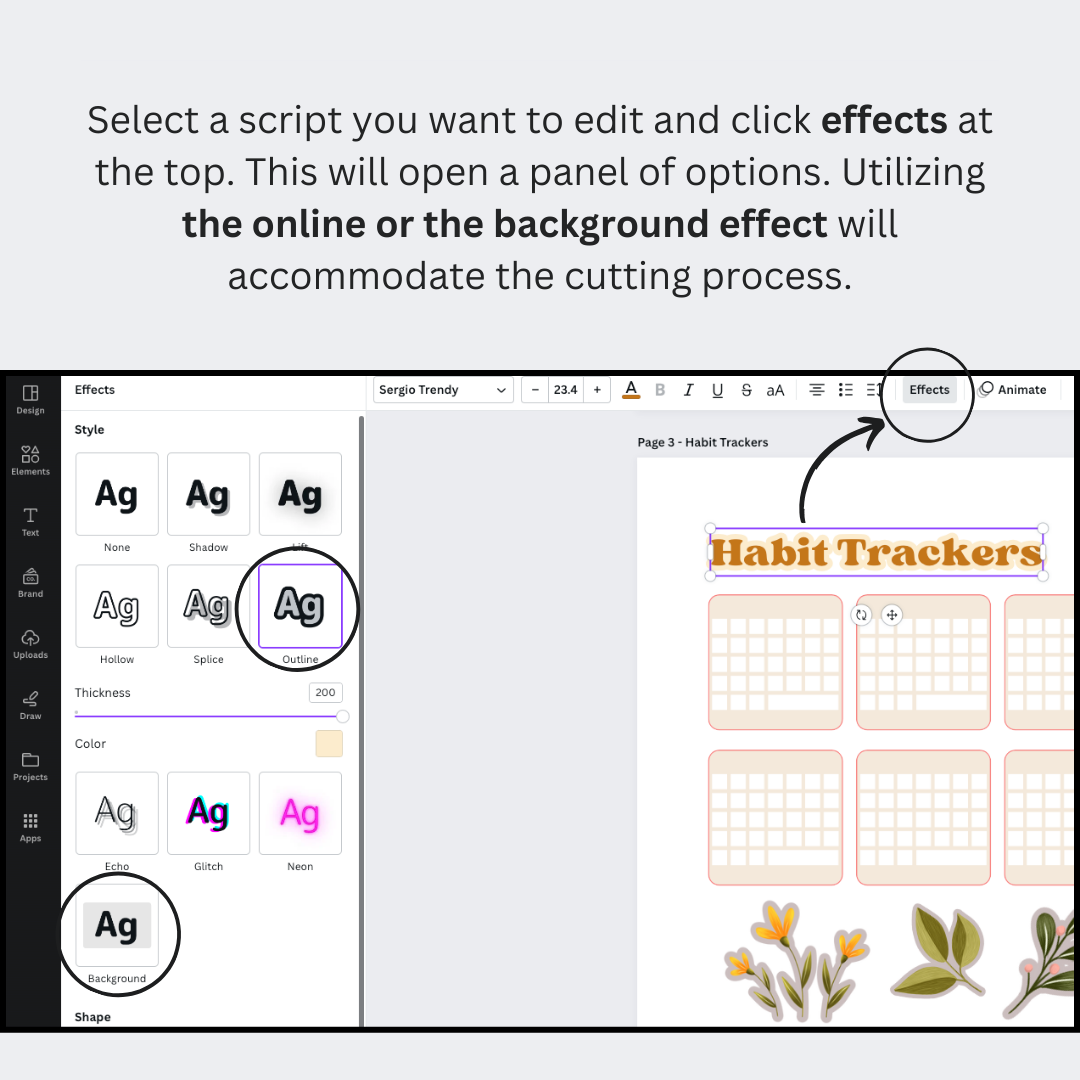
Using the same logic of why you might want an outline around your stickers you also want to consider using either a bold font for the script stickers you create or having a background behind your script if you want to use a daintier font.
Download your Design
There are a ton of ways to play around with this, but I wanted to highlight what I definitely recommend during this process. Whenever you’re ready to download your design see one of the two sets of directions below depending on your plan.
Do you plan to use the print then cut feature via your cutting machine?
If yes, read below:
I recommend downloading your design as a PNG but depending on the permissible formats your cutting machine’s software allows, use what works. If you have Canva Pro, that means you can make the background of your sticker sheet transparent before downloading. If you do not have Canvo Pro but have Cricut Design Space like I do, once you upload your design in Cricut Design Space you can remove the background there. I am not aware of this feature for other cutting machines but I imagine it’s comparable.There are other free tools available online to remove backgrounds of images. Either way, if you don’t make the background transparent, your cutting machine will not recognize/cut each image as an individual sticker.
Do you plan to print your design and hand-cut your stickers? If yes read below:
You will want to download your design in a PDF format and select the settings of your printing-friendly preferences that pop up in Canva. Remember, if your outlines aren’t visible against a white background in Canva, they won’t be visible for you to hand-cut once printed either.
Print and Cut your Stickers
I want to be mindful of the fact that not everyone has a cutting machine, let alone the exact one I use, so if it is relevant to you to see how I use my Cricut Maker once the above steps are complete, please refer to the corresponding YouTube video below for that visual aid! Otherwise the steps for simply printing your PDF and hand-cutting your stickers are straightforward. I show that in the video as well.
In conclusion
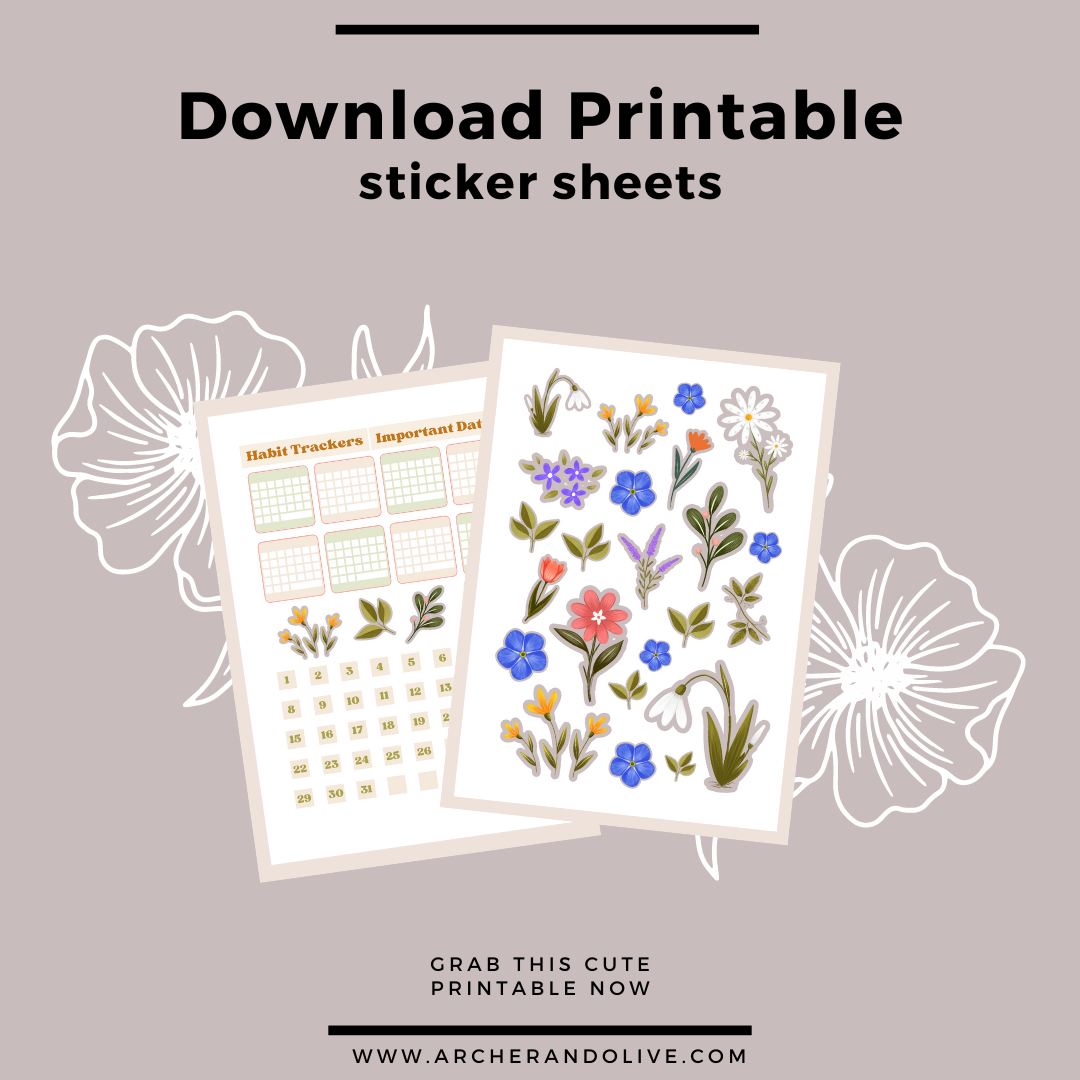
I want to reiterate that there are many ways to create your own sticker sheet printables. My favorite part about journaling is maximum customization and this is just another level of achieving that. Check out the printable sticker sheets below if you don’t have time to make your own and want some floral decorative stickers and basic functional stickers. They’re in a PDF format for the more inclusive method of printing the stickers and cutting them by hand. Happy journaling!


